Sunday, September 11, 2022

Rainbow Houses Winter Scene Card LF


Hi, friends!

Today I'm sharing a cute winter scene card to join the challenge over at Lawn Fawnatics Blog


The current challenge theme is Color Inspiration and it is rainbow. 


Here's step by step descriptio of what I did for today's card. 
First I die cut  Little Town Hillside Pop-up Add-on out of watercolor cardstock, and I watercolored each house in rainbow colors. 


As you can see in the picture above, I did partial diecutting so that the little pieces were held in the frame and it made coloring easier. 
Next, I trimmed a piece of white cardstock into A2 size, then I ink blended it using 3 different Distress Oxice inks : Worn Lipstick, Tattered Rose, and Spun Sugar. I added splatters of water and dabbed with tissue to remove excess water. 


Next, I placed Snow Flurries Background Stencil onto the panel, then I applied modelling paste through the stencil. I used Schimincke's product which I had bought a local art supplies store.


After the paste was dry, I foam mounted houses diecut on the panel. 
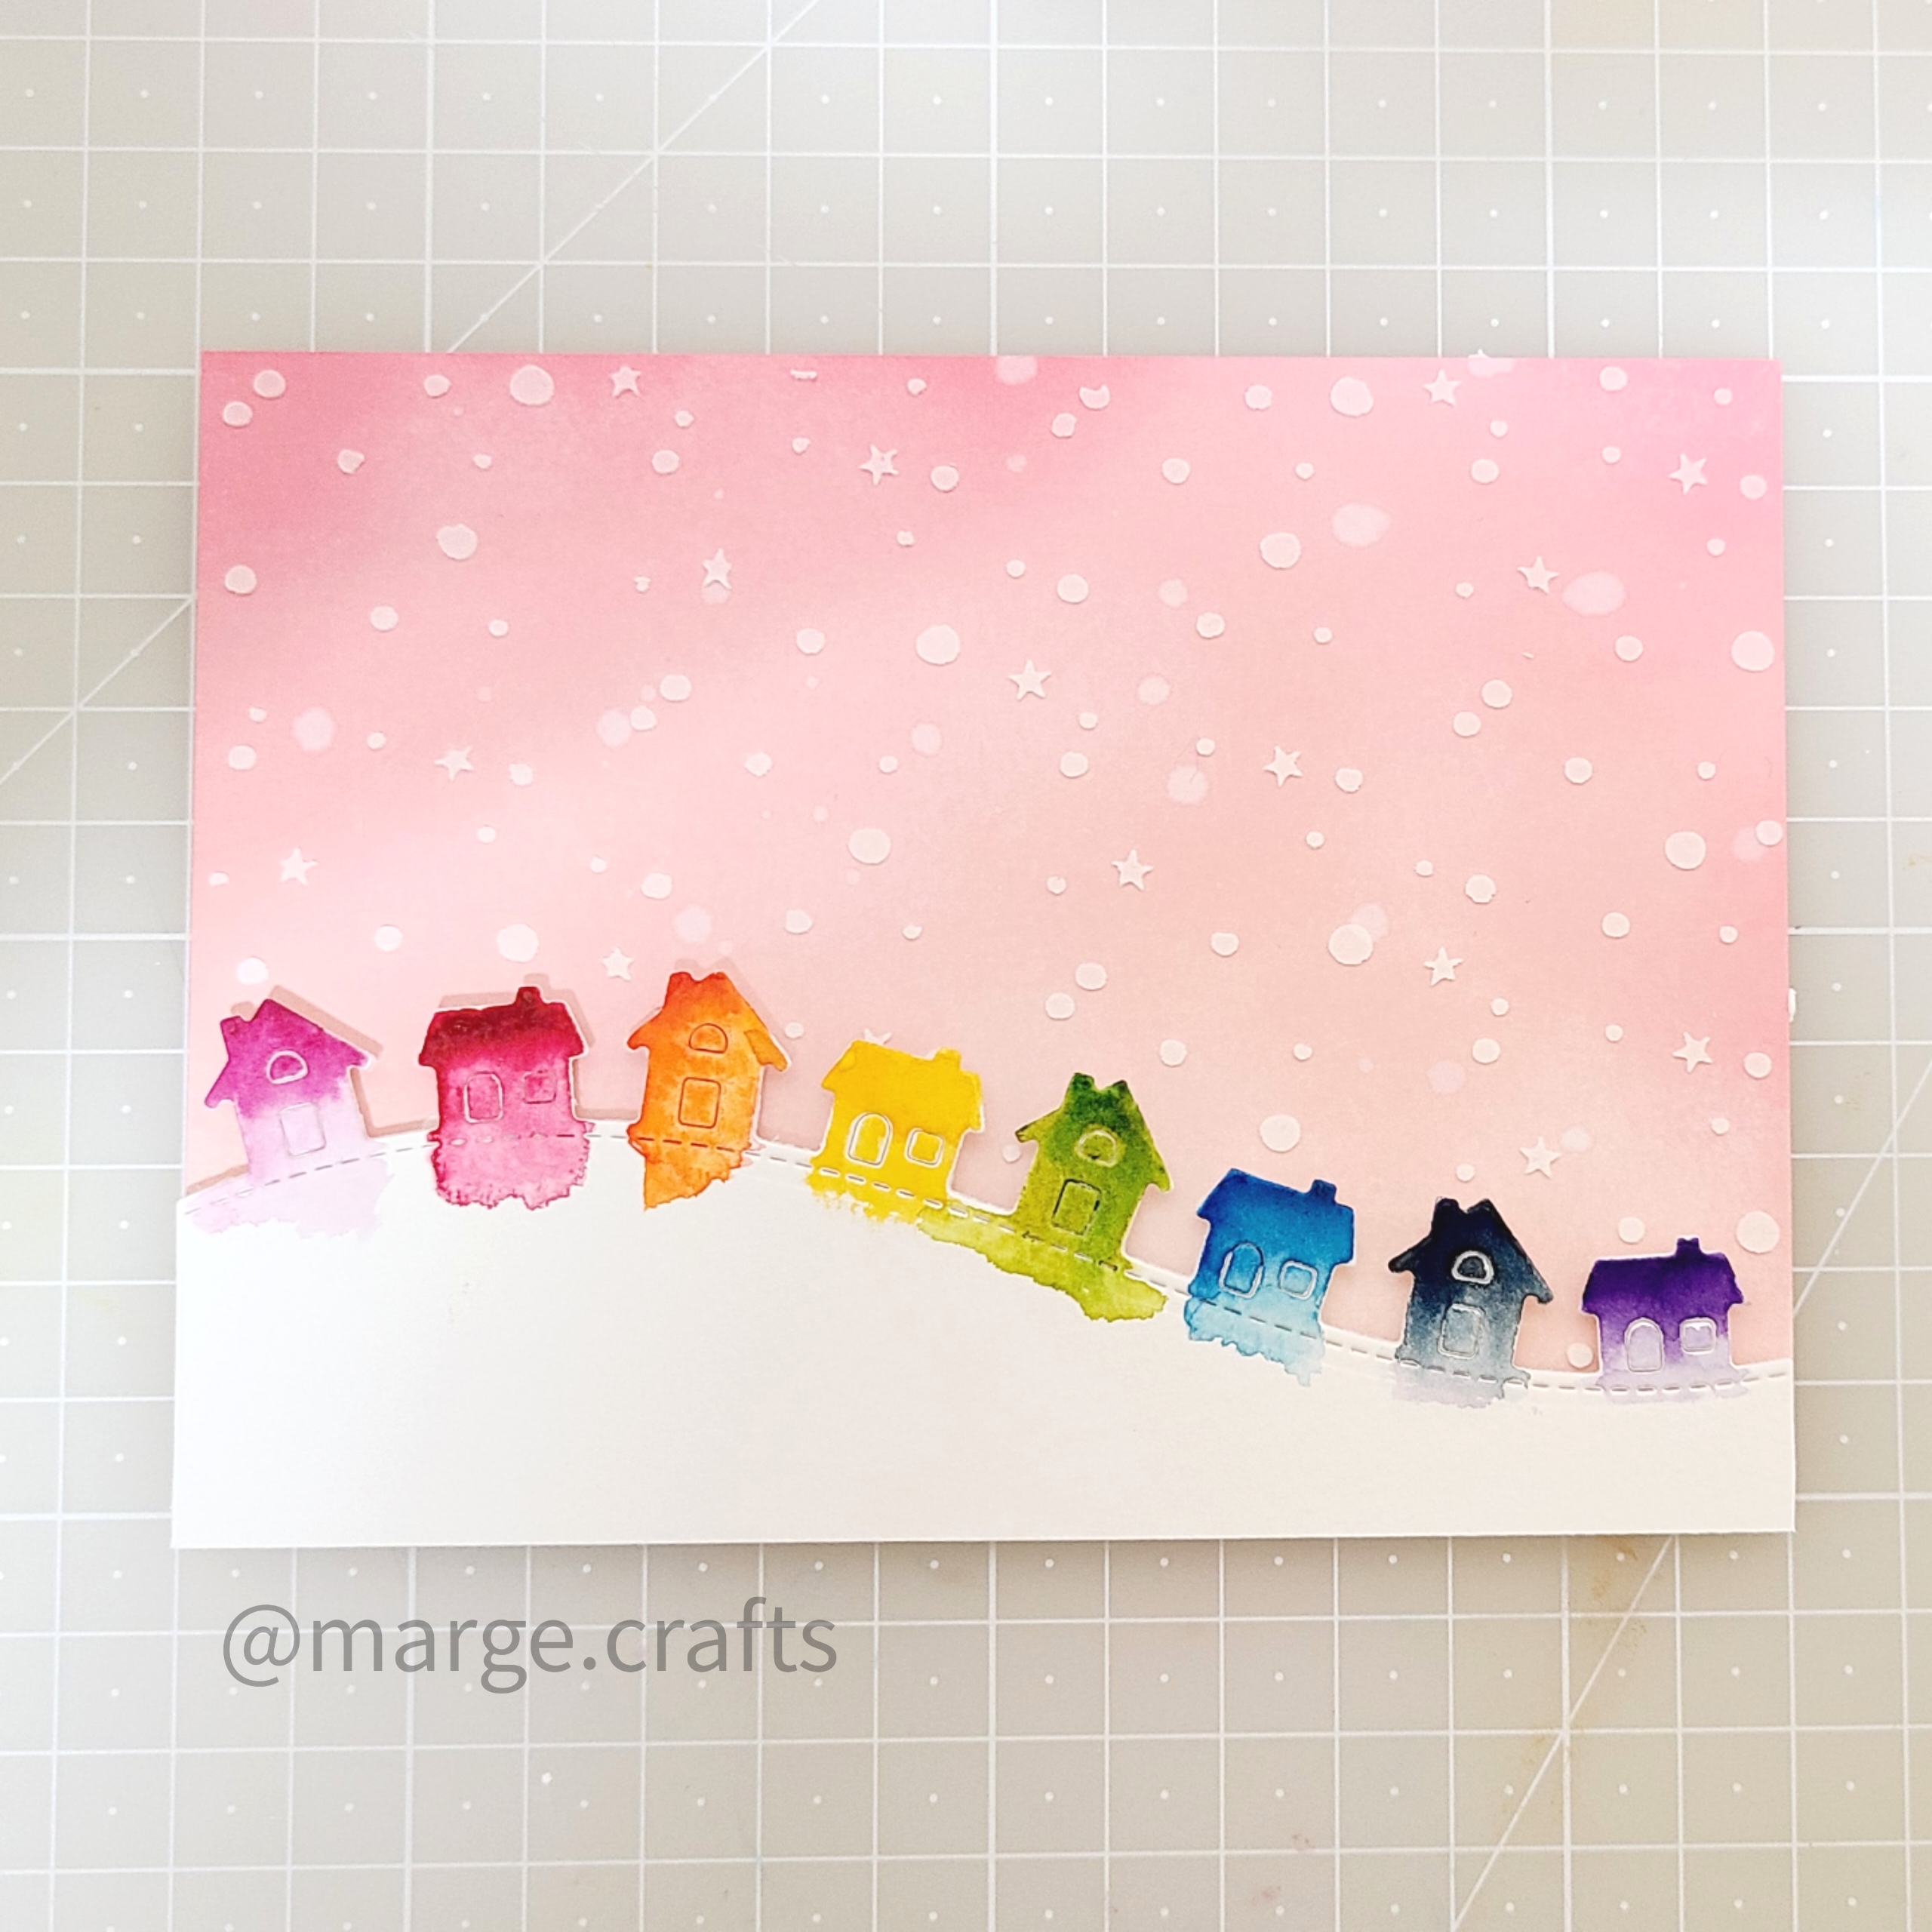


Next, I adhered  Snow Flurries Backdrop frame which was cut from watercolor paper, which finished soft & rainbow colored winter scene. 


For the sentiment on the top, I stamped Winter Wavy Sayings on Fancy Wavy Banners Diecut using Versafine Onyx Black InkI adhered cute critters from  Say What Holiday Critters set around the banner and on the bottome of the card. 


As a finishing touch, I added some clear drops around the scene. 


That's it for today. Thank you so much for stopping by!
Have a great start of a new week.

MARGE


Tuesday, September 6, 2022

Watercolor doodling cards


Hi, friends!

Last weekend, I could finally open my new watercolor paint set which I had bought a month ago.  This Artisits' Watercolor 24 Pan Set from Altenew is so amazing! I shared a short video of opening the set, labeling each color and quick testing major colors  on my Instagram account. So if you're interested in it, please check it out. At first, I was just thinking of doodling video, but in the end, I made two cards from it, which I'm sharing here today. 


In the picture below, you can see that I opened all the half-pans and  adhered the sealing stickers onto a spring note to make a color chart. I think these sealing stickers are so useful because you don't need to make a color chart. The colors printed in the stickers well represent the real colors! I then also quickly made several watercolor testing panels. Without planning color schemes, I just colored each paint in the order they were placed on the palette. The paints were highly pigmented, colors were very pretty and bright, so it was such a pleasant time for me. I then set them aside and finished my watercolor doodling. 


The next day, when I look back into the panels on my desk, I decided to pick some of them and make cards. So I picked two, each with different color palette, and went with card designing. 

[ Card 1 ]


For this warm color palette card, I stamped Fairy Tale Rose using versamark ink and heat embossed it with white embossing powder. 


I trimmed the right side border using Creative Edges Lace Die and matted with similar colored pattern paper which I added more shades using some red & violet dye inks. 


I splattered with the same watercolor paints, and metallic gold & white inks as well. 
Sentiment strip was foam mounted on the bottom of the panel. For embellishment, I adhered heart shaped clear drops. 


I love how the elegant outlines of rosebloom in white go well with the gradient colored background. 


[ Card 2 ]

For the second card, I did the same process, except that I used Creative Edges Notebook Die  on the left border.


 The clean line notebook edges look so well with the cold color palette. For embellishment, I added clear round drops. 


With simple watercolor doodles, I could pull out two different designs, which was such a fun process! Which one caught your eyes ? 


Thank you for reading today's post.

Have a great day!


MARGE 
Monday, September 5, 2022

Winter critters card


Hi, crafty friends!

Today, I'm sharing a cute critters card made using some old and new products from Lawn Fawn. It's been ages since I last colored cute critters, so I needed some courage to do it again. 


For background, I trimmed a piece of blush cardstock into A2 size, then I made snowflake stitches pattern using Stitched Snowflake Backdrop Die. I added pink & violet shades to the panel by sponging the panel with my dye inks. Next, I adhered snowflake frame that were cut out of white cardstock using Snow Flurries Backdrop Die, giving a little dimension with thin foam tape. I added splatters of white ink and metallic gold ink all over the panel and let them dry. 


For the critters, I stamped images from Ugly and Bright and Say What Holiday Critters set on copic friendly paper with Memento Black ink, then I colored in them using copic markers. Next, I cut them all using coordinating dies. 


I adhered the critters and sentiment which was heat embossed in white, on the panel using adhesive foam squares. As a finishing touch, I adhered some pink colored jewels. 


Coloring little cute critters drew out my inner child, and it was so much fun. I think I'll do this more in my future projects. 
Thank you for stopping by.

Have a great day!

Marge


Friday, September 2, 2022

Distress ink blended background winter cards LF

 Hi, friends!

I've got two winter cards with the same colored backgrounds by using distress inks. 

I used some old and new products from Lawn Fawn for today's cards.


Here's the first card made of only diecuts with minimal coloring. 


For the background panel, I trimmed a piece of white cardstock into A2 size, then I ink blended it using regular distress inks : salvaged patina, weathered wood, and specked egg. I splattered with water, removed excess water by tapping it with tissue. 


Next, I placed Snow Flurries Background Stencil onto the panel, then I applied modelling paste through the stencil. I used Schimincke's product which I had bought a local art supplies store. 


I love how the tiny snowflakes and stars look very cute when they were given dimension by molding paste. 


I set this panel aside and let them dry. 


Next step, I die cut Snow Flurries Backdrop from white cardstock.  I made two cuts and glued them together. 


I also cut "Let it Snow" from white cardstock and diamond glitter cardstock, then I layered them with dimensional look. 
The small bird and a pair of gloves were cut with Build-A-Snowman and colored with Copic markers (RV99, R89, R59, R39). I added white gel pen accents to them.


Once all the elements were finished, I glued Snow Flurries Backdrop frame to the background panel, and then I adhered "Let it Snow" diecuts using foam squares, and finally I adhered bird and gloves. 


As a finishing touch, I added clear drops. 


My second card used the same colored background. However, probably due to the differences in white paper (this time I used Strathmore Bristol paper), which I don't exactly understand the reason, I had to add more inks to make similar colors. 


So, I used salvaged patina, weathered wood, and specked egg, peacock feathers, and evergreen bough. Stencil was done with the same way. 
Next, I cut Deck The Car out of some color cardstocks, then I added more shades by lightly sponging the edges of diecuts. After coloring was done, I assembled them using a fine tip glue


To make a road for the car, I used Little Town Hillside Pop-up Add-on diecut which was slightly inked with Evergreen Bough distress ink, and were glued to the panel. 


For the sentiment on the top, I stamped Winter Wavy Sayings on Fancy Wavy Banners Diecut using Versafine Onyx Black Ink. After assembling all the pices to make a fun winter night scene, I added some clear drops and finished off my card. 


These two cards were done with easy and simple way, but I really enjoyed it. It's always so exciting to add colors and shades and textures one by one onto white paper and finally you get a fun, colorful scene !

A new REEL of making process will be soon shared on my Instagram account. 
Thank you for stopping by. 
Have a great day!

Marge


Monday, August 29, 2022

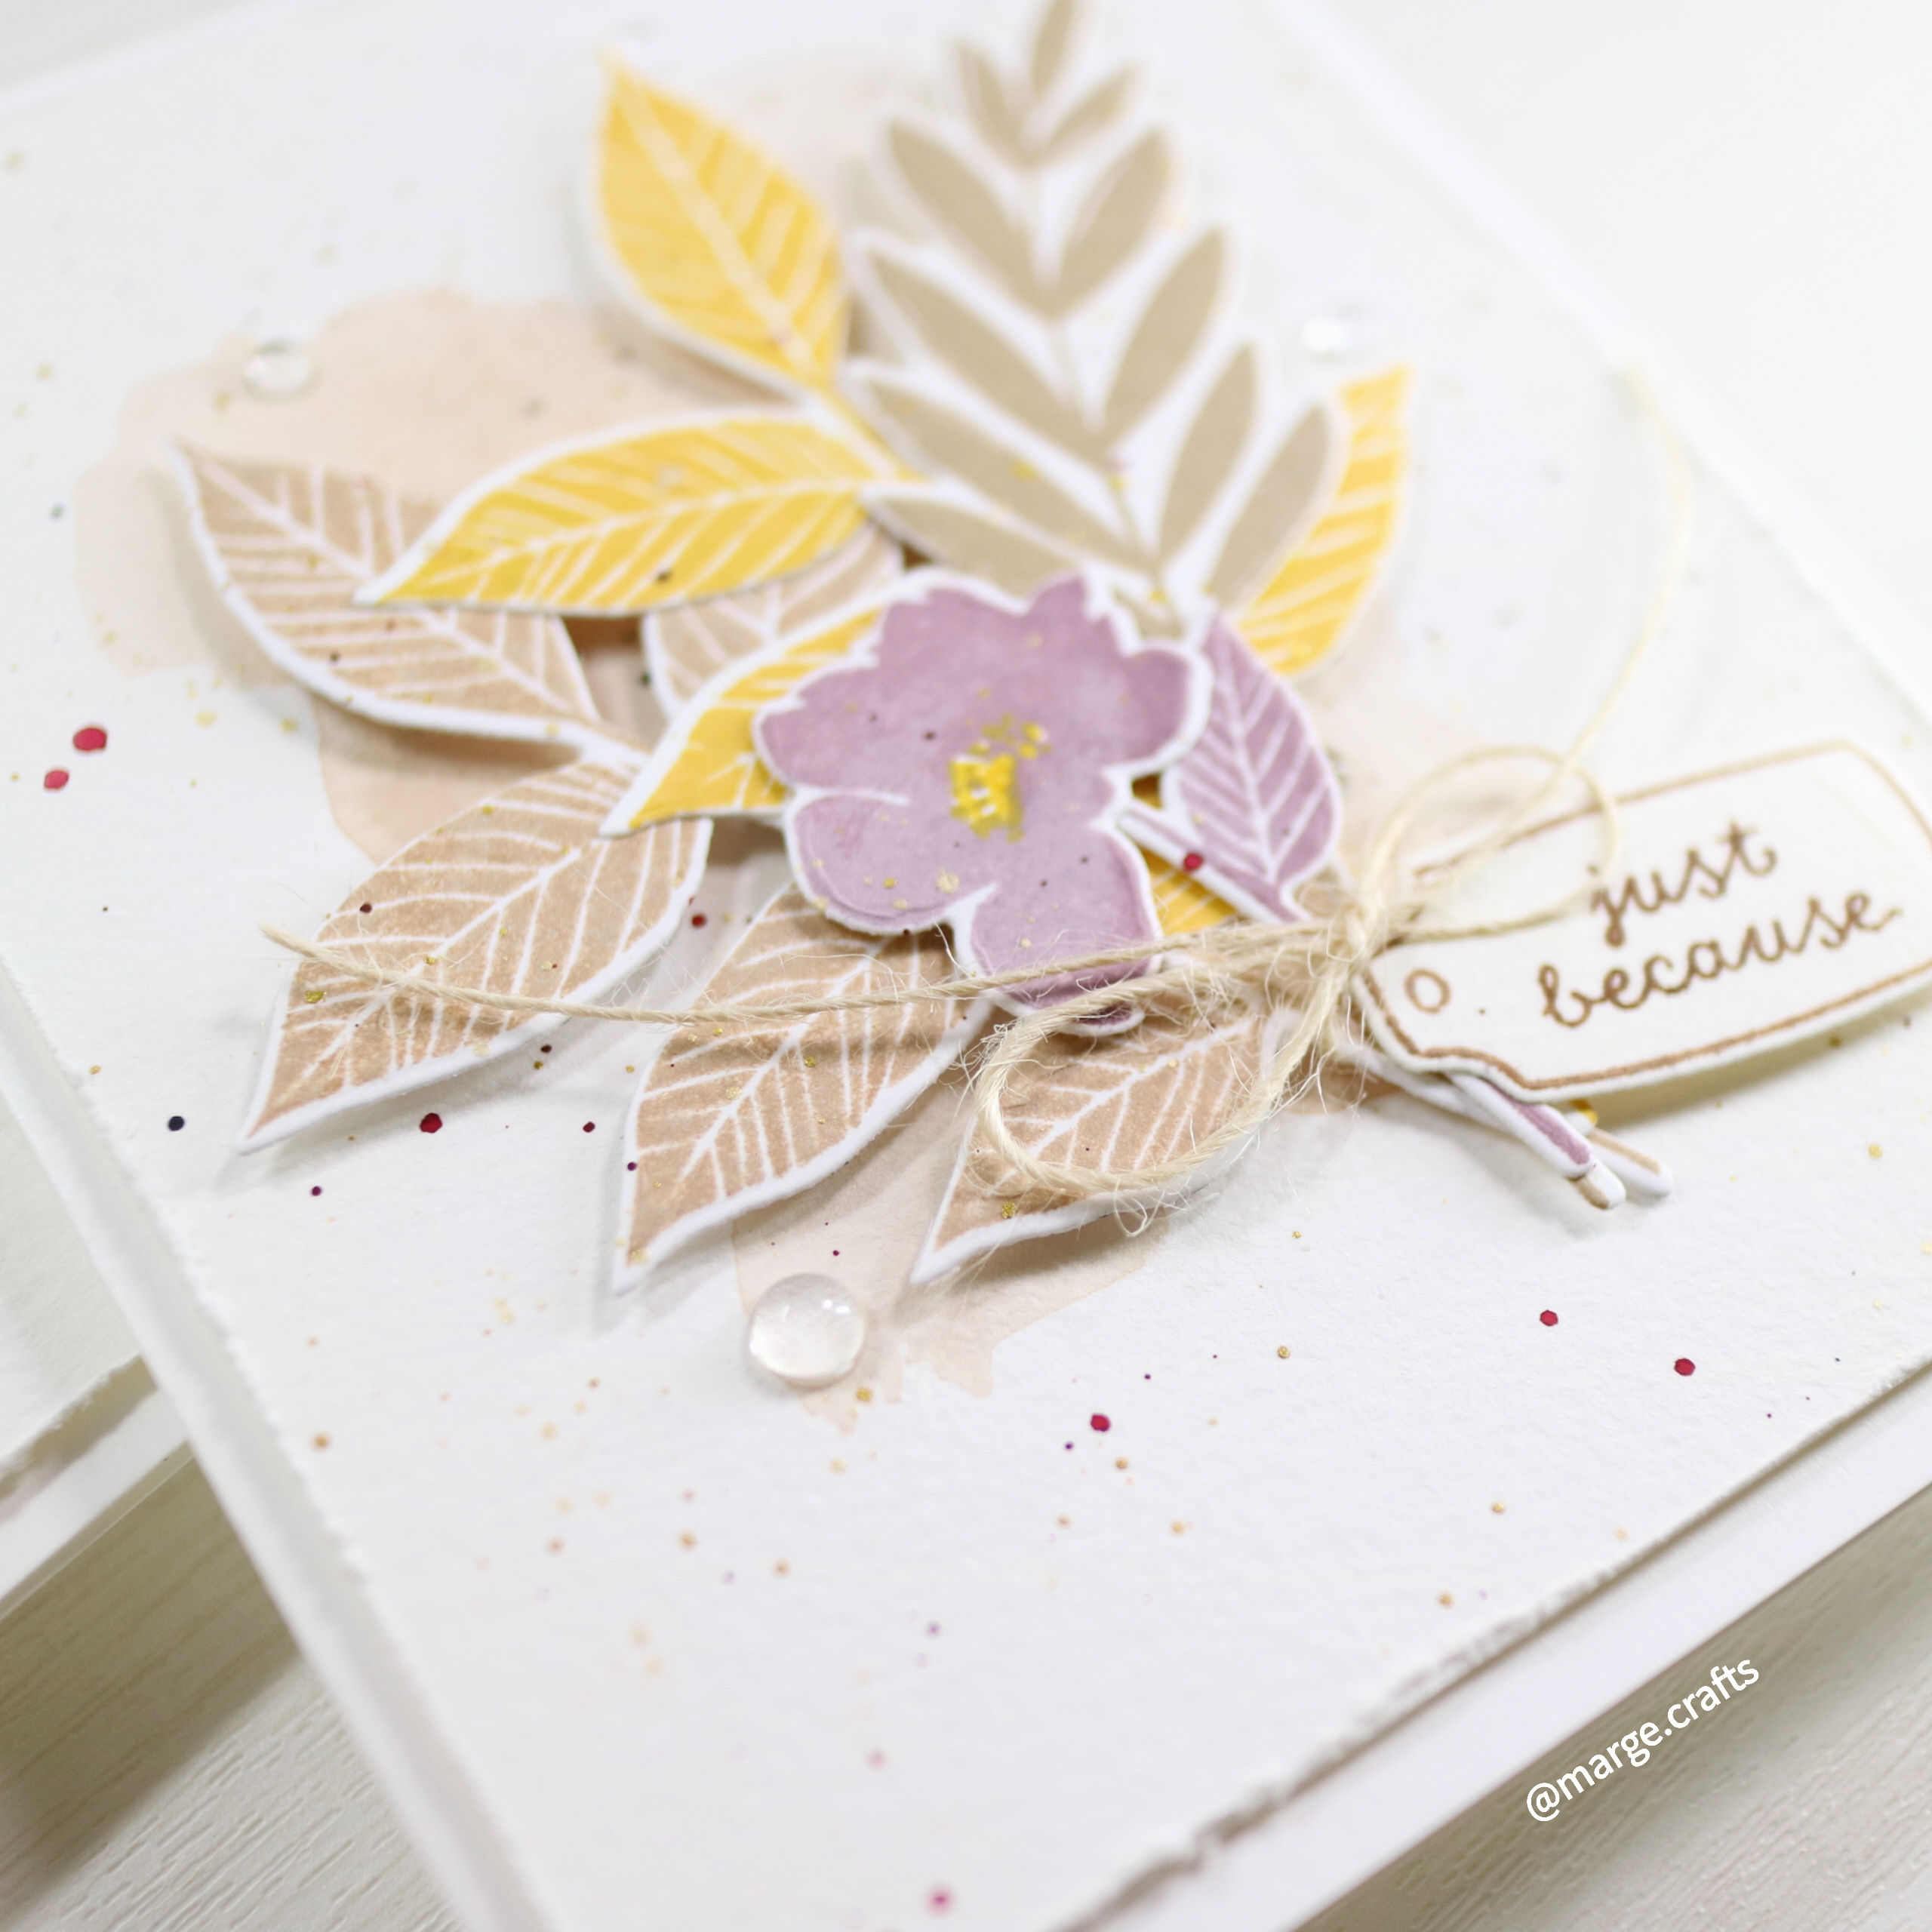
CAS leafy cards

 Hi, friends!

Today, I've got two clean and simple cards to share with you. 
The stamp & coordinating dies set I used was part of STAMPtember 2019 by Simon Says Stamp and The Stamp Market exclusive collaboration


I stamped the leafy images on white cardstock using several dye inks, then I die cut them with coordinating dies. 


For background, I trimmed watercolor paper into 4x5.25 inch size panel, then I watercolored the center lightly. I distressed all the borders using a distressing tool. 


After adding lots of splatters I let them dry. Next, I adhered leaves & florals using glue & foam adhesives.


I used soft color palette for my second card. Otherwise, a similar process was done.


 Thank you so much for stopping by. 
Have a great day !

Marge 

Sunday, August 28, 2022

SSS Cosmos Bloom Cards

 Hi, friends!

Today, I'm going to share two simply designed cards featuring Cosmos Bloom Die from Simon Says Stamp.


I started with die-cutting several Cosmos Blooms out of watercolor paper, then I lightly watercolored the diecuts using my Daniel Smith Watercolor paints : Moonglow, Phthalo Turquoise, and Phthalo Blue. For backgrounds, I colored lower half of watercolor paper using a wet-in-wet technique. For some streaky look, I held the panel stand obliquely and let the watered-down ink run down and let them dry. I added some splatters of darker ink. 


Next, I adhered colored cosmos blooms along the diagonal border of my panel. For a dimentional look, the bloom in the center was adhered with foam adhesives. 


 A sentiment from Sketched Flowers set was stamped and then I added a lot of white & metallic gold ink splatters all over the panel. As a finigh touch, light purple colored jewels were added. 


The second card was also finished in a similar way. It's a gratitude card this time. 


I chose sentiment from CZ 30 Days of Thankful and the blush jewels were used. I think the font of the sentiment goes very well with the simple design of this card. 


Watercoloring die-cuts is a very easy and fun technique and it extends your card designs as well. I hope you enjoyed my cards for today. 

 Thank you so much for stopping by.
Have a great day!

Marge