Saturday, January 25, 2020

Simon Says Stamp Peony Bouquet Stencil Cards-SSS Hey Bestie

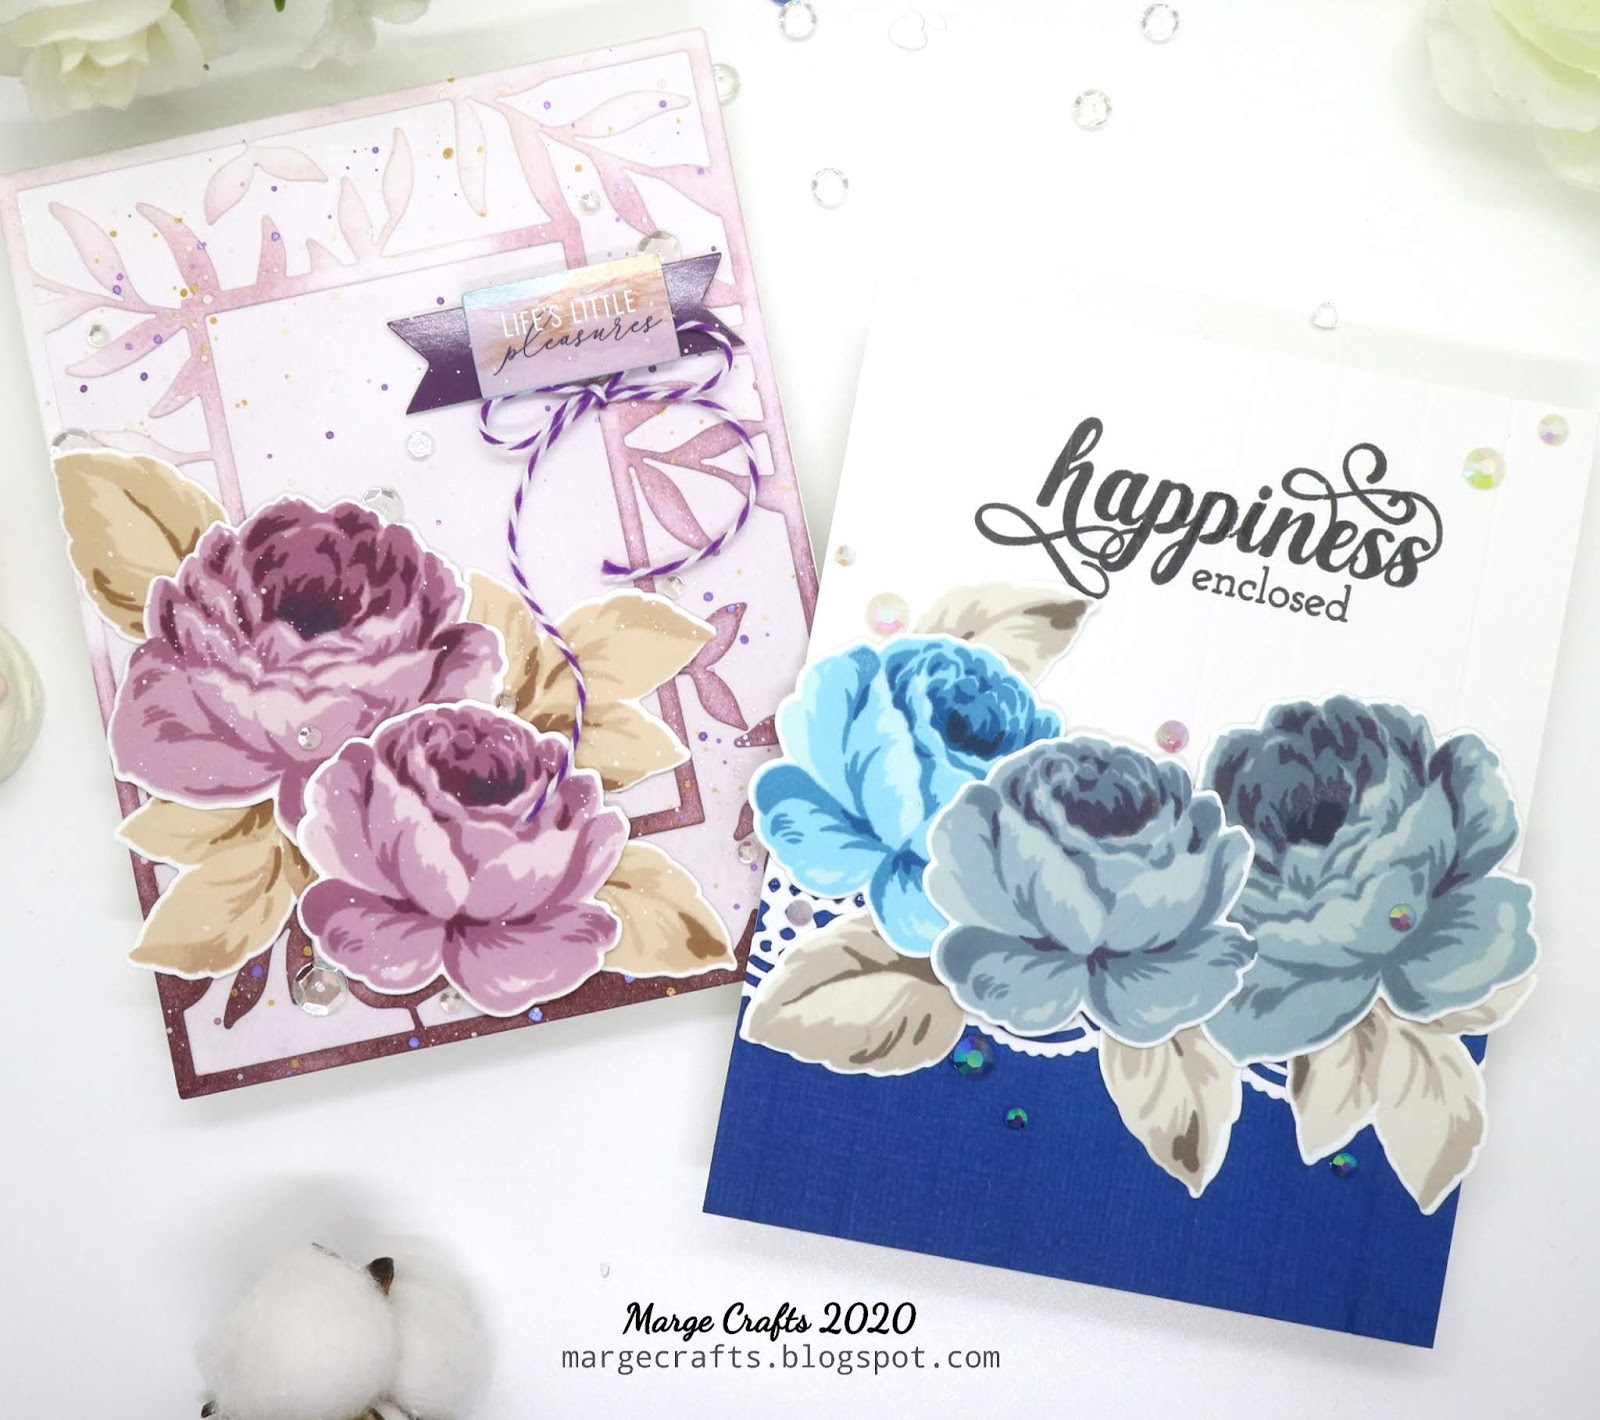
Hi, friends! I hope you're having a happy weekend after a long and busy week has ended up. I haven't had enough time to sit on my chair enjoying lots of craftt goodies from my recent orders this week, but I managed to make two cards using the beautiful Peony Bouquet Stencil from Simon Says Stamp HeyBestie Release. 


The stencil is so popular that it's on reserve until Jan 30th at Simon Store, so you can get it after then. When I first got this stencil on my hands, the petals were so nice and open that I decided to do stencil first and to add more colors and shades by using watetcolor paints and/or colored pencils. 


I started by trimming heavyweight cold press watercolor paper and then I put the 
Peony Bouquet Stencil onto the paper and brushed dye inks through the stencil. I used Altenew's December 2019 new dye inks and Simon's Blender Brushes when stenciling. 


For my first card, I colored the stenciled images using my Daniel Smith watercolor paints then I added nooks and cranies with my prismacolor polychromo pencils. Here are a couple photos of coloring in progress.


It's so fun to see how they change as I keep adding shades!


After coloring was done, I trimmed the panel into A2 size, then I heat embossed a sentiment from Greetings Mix 1 set in gold. 


I foam mounted the panel into a white card base, added nuvo drops on each center of blossoms and embellished my card using some sequins.


For my second card, I only added pencil details onto the stenciled images for a softer look. 

Since I used hot pressed watercolor paper which has smoother surface than cold press, pencil coloring on this second card was a little easier than the first one. The sentiment is from Sketched Flowers Set


I foam mounted the panel onto Neenah Desert Storm Card base and added final touch with some jewels and sequins. 


Thank you for readinf this post. I hope you enjoyed it. Have a wonderful weekend!

Marge

Saturday, January 18, 2020

Watercolor Amaryllis Card featuring Pretty Pink Posh


Hi, friends! 
Today, I'm going to share a watercolor amaryllis card featuring gorgeous Amaryllis Stamp set from Pretty Pink Posh.


Did you watch the amazing Coloring Challenge Road Trip online class by Kathy? If you didn't, I would highly recommend you to purchase the lecture. Whether you're good at coloring or not, you'll learn something special that will enhance your coloring mind in creative ways. I was so inspired by her first lesson "Be fearless" and "Nooks and Cranies" that I decided to do this.  I had actually stamped each image from Amaryllis Stamp set before I watched the video when I just had thought that I would color the images, cut with coordinating dies and compose a bouquet.  However things changed after I watch the videos. In Dawn's section among the lectures,  I saw a very beautiful bouquet that she created with a masking technique using separate images. Oh my.....! I was kind of shocked....then.... I decided to go back to the very first start. 


So this is what I did. Instead of coloring each image and diecutting,  I created a bundle of amaryllis bouquet with using masking  technique. I used Gina K's Warm Glow ink in stamping the images, which was strongly recommended by Kathy for no line coloring. 


I then started to color in the images from light to deep shades, using some of my Daniel Smith Watercolor paints. I pretended like I'm a coloring specialist cause I needed to be fearless! But, as a matter of fact, I didn't know and I couldn't even imagine where I was going. I tried not to be overwhelmed by the white space.... just added a little bit of color,  then blended it out and I went back and added another layer. Here're a couple photos in progress. 


As Kathy taught us, I tried to give Nooks and Cranies to my coloring and for this I used some polychromos pencils from Prismacolor. Kathy's tip for pencils coloring really helped me on this. 


When I felt my coloring was almost done (I wanted to do more but I knew this was my best result at the moment), I masked the flowers again and stamped italic sentiment block on the background. The stamp is from Kitchen Sink Stamp. 


I added a small ribbon and a small tag on which You are in my thoughts was stamped . Then I foam mounted the panel onto a card base. As a final touch, I adhered Sparkling Clear Sequins Mix and 3mm Sparkling Clear Sequins from PPP. 


I'm entering this card to the OCC online gallery as a homework for the first day of class. Thank you for reading this post. I hope you enjoyed it. 


Happy Weekend!
Marge♡

Wednesday, January 15, 2020

SSS Delicate Flowers Watercolor card

Hi, friends!
I'm really into florals these days and I'm having so much fun coloring flowers. Today, I have a card to share with you featuring the beautiful Delicate Flowers from Simon Says Stamp, which had been sleeping for almost a year in my stash. 


These days, many makers do no-line coloring when they color flowers to give more elegant moods and they really do great. But I chose black lines this time because Delicate Flowers are with thin outlines so the lines weren't likely to interfere with floral vibes.


I started by stamping all the images on heavyweight watercolor paper using Versafine Onyx Black ink which is water-resistant, then I colored in the images mainly using Altenew Watercolor Brush Markers.


 I usually layered three different colors on the same petals to express variant shades. Next, I cut the images using Delicate FLowers Coordinating dies.


In order to place the florals and leaves to compose a bouquet, I made a subtle background using Mesh Stencil and light gray ink(Lava Rock from Altenew) with all the splatters. In turn, I adhered my colored images to the panel using glue and foam tapes when needed and added white splatters onto the bouquet.


Sentiments were chosen from Sketched Flowers set. I really love the elegant fonts!


As a final touch, I put some white and iridescent jewels from Valentine Jewels Mix and Chunky Clear Iridescent Mix around the bouquet.


Thank you for reading this post. I hope you liked it. Have a great day!♡

Marge


Monday, January 13, 2020

Floral Cards with Stamp Layering Techniques -Altenew Antique Roses

Hi, friends!
These days, I enjoy playing with unused craft products I purchased a while ago. When I have free time, I sit down in front of my crafty stash and think about what to choose to play with. Today, I chose some gorgeous floral stamps and new dye inks from Altenew.


I started by stamping Antique Roses on a sheet of 80lb Neenah White paper using dye inks mini cubes SugarPlums, Tranquility, Cool Summer NightCoffee Break, and Warm Gray. I then cut the blossoms and leaves using Antique Roses Coordinating Dies and set them aside.


For my first card, I diecut a Leaf Frame and gently colored it using the same SugarPlums inks and then I adhered it onto another slightly colored panel. I splattered with a couple of colors of Metallic Accents and let them dry. Once the panel was done, I arranged purple blossoms and brown leaves onto the left lower corner giving them dimensions using glue and foam tapes.


I was wondering what sentiments to add to the card, then I selected a sticker from Just A Little Lovely Embellishment Pack, which has the same color palette.  I foam mounted the sticker to the Right top corner and I added a ribbon made of purple baker's twine. 


For my second card, I followed the Pantone Color of the year 2020, which is Classic Blue.


 I cut a piece of blue cardstock, then I inked it using dark blue dye inks in my ink stash. The vertical lines were scored at 0.5cm intervals using a scoring board, and a sentiment from Crafty Greetings was stamped on top of the panel.  


In order to give some visual interest, I adhered a piece of Lace Die-cut on the upper part of the blue area. Now it's time to arrange blossoms and leaves.


I think I followed a little bit of classical layout on this card cause I wanted it with a more elegant look.


As a final step, I adhered the panel onto a card base and then I added some Jewels: Chunky Jewels Iridescent Clear Mix and Sugar Plum Jewels Mix.


Do you love stamp layering? Well....I always feel a little tricky when layering stamps, but once you've done it, the results are so great to see no matter how you stamped some pieces wrong. That's why I keep buying such stamps, lols.

Thank you for reading today's post. I hope you enjoyed it!

Have a great day!
Marge ♡♡♡

Saturday, January 11, 2020

SSS Love You More and Hey Bestie Release Blog Hop - Day 2

Hi and welcome, everyone!
I'm so thrilled to be joining the Day 2 of blog hop for Simon Says Stamp Love You More and Hey Bestie Release.  Hopefully, you've arrived here from my talented friend Gayatri Murali or you can start hopping along at Simon Says Stamp Blog. By the way, did you enjoy all the fun and beautiful inspirations from the first day of Blog Hop held yesterday? Please be sure to check out them, too! 


[ Giveaway ]


Before jumping into the details, here're information about offers and giveaways for you from Simon Says Stamp. The free gift code is BFF489 with a purchase of $50 or more.

Please leave a comment for a chance to get a $25 coupon from Simon Says Stamp. The random winners will be chosen over the weekend and posted on Simon Says Stamp blog on Wednesday, the 15th of January


[ Blog Hop Cards ]


I wrote product lists with brief instructions on how I made them for each. The first three cards are featuring You Are Background Stamp,  Sentiment Strips Cheeky LoveWedding Rings Die, and Valentines Word Mix 2 set


< Card 1 > 

 You Are Background was stamped with Distress Oxide Iced SpruceBig Picture Book Latte was cut from colored cardstock, on which I added more shades with dye inks,  mounted on a piece of Vellum die-cut of Wonky Hearts.


I found that the Sentiment Strips are so easy to use and they look good on cards. You don't have to heat emboss stamps. Oh, it's a whole new world, isn't it? :)


As it is Valentine-themed, I embellished my cards with Clear Heart Drops. They are so cute and pretty!

< Card 2 >


Card 2 is very similar to the first one and I cut gorgeous Wedding Rings from gold mirror cardstock, red and silver glitter paper. I loved this sentiment so much! It would be perfect for wedding anniversary cards. 

< Card 3 >


In my 3rd card, I made a pink background using DO Spun Sugar ink. 


And....I love this sweet duo! :)


< Card 4 >

I have three more cards to share with you, which features You Are Loved dies from the Love You More Collection and here's the first one.


I wanted both lovely and pastoral moods on my card as we are waiting for spring, so this came up! The same You Are Background was cut with Framed Tags Waverly, and the Eucalyptus Leaves cuts were colored with Copic markers.  


Making shaker cards is always my favorite thing to do, so this time was no exception. I have two shaker cards to share with you. 


I had so much fun mixing and putting various sequins into the big shakers. I'm always fascinated by the sparkling beauties of sequins and beads. For backgrounds, I chose designed paper from Just A Little Lovely 6x6 pack, and I added some splatters onto each sheet.

< Card 5 >


Other Supplies: Lawn Acetate sheets, Heavyweight vellum, Sequins from Lucy's (Lilac, Hydrangea mix, Pink Moonstone), PPP Iridescent Mini Hearts Confetti


< Card 6 >

The last one is also a big shaker card with a few fun variations in color, sequins, and frames.


♡♡♡

Wrapping up today's post, I'm so in love with the tones, colors, and mood from this 5th card.  Which one caught your eyes? :)


That's it for today. Your next stop to hop along is Vicky Papaioannou. You can also visit the Love You More Gallery and Hey Bestie Gallery for more inspiration.


Here's the full hop list in case you've been lost.


Thank you and have a great weekend:)

Marge