Monday, March 19, 2018

[Spellbinders] New Classics March Collection- Part I- Making shaker cards with basic frame dies


Hello, everyone ! 
Hope you are having a good day. Did you see the gorgeous new release at Spellbinders?
I'm so thrilled to let you know that I was invited to Spellbinders as a guest designer for Spellbinders Classics March Collection  last week.  I shared a total of three posts featuring the Classics March Collection on the Spellbinders Blog and I'm going to replay them again here on my blog during this week. Hope you will enjoy them :) 


As you all have seen, the Spellbinders Classics March Collection is full of basic frame dies with various striped, dotted or scalloped borders, which would be perfect background frames for your projects. But that’s not all they do. From now on, I’ll be sharing how to use creatively the classical frames throughout 3 days of posts here on Spellbinder’s blog.
Today’s topic is making beautiful shaker cards with the nested frame dies. Basically, I used first (the largest) and second die cuts as background layer, then I cut the two consecutive smaller dies at the same time to make a frame for shaker window. Here is the first card with oval framed shaker made using the Fancy Edged Ovals Dies.

For the bottom rectangle panel, I also used a largest frame die from Scored and Pierced Rectangles Dies. Sentiment ‘for you’ is from the Sentiment 2 Set from Tammy Tutterow, and was heat-embossed with gold embossing powder. As a final embellishment, I adhered a white linen ribbon on the top of the oval frame, and put some Jewels on the card.

For the shaker, I chose various colors of sequins and seed beads trying to balance the whole color scheme. Look at the beautiful sequins in the elegant framed shakers. I really loved how it turned out.

For my second card, I made a square –shaped shaker using Fancy Edged Squares Dies set in a similar way I already described above. 


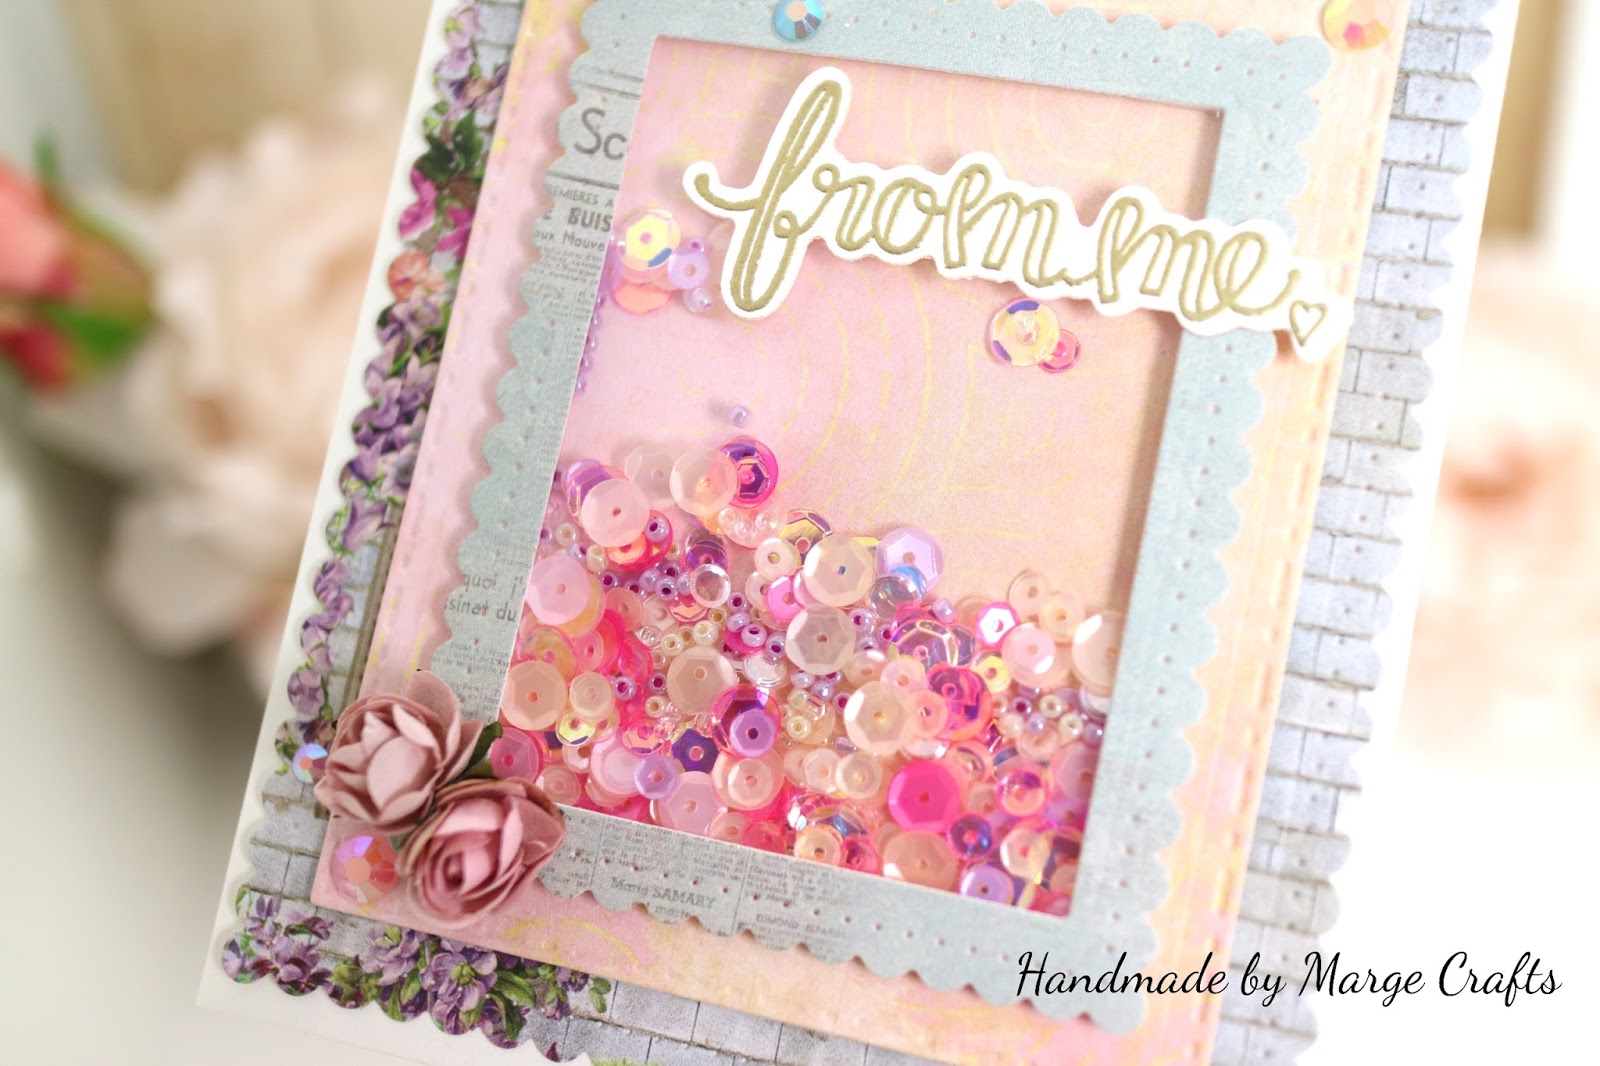
For my third card, I made a rectangle shaker using Fancy Edged Rectangles Dies set.

Low how the elegant frames go well with beautiful sequins and jewels.


Spellbinders Supplies:

OTHER SUPPLIES:

Pretty Pink Posh Sequins, Seed Beads, and Jewels Collection, BoBunny Country Garden 6×6 Paper pad, 13 arts Aura Rosa Collection 6×6 Paper pad, ScrapBerry’s French Journey 6×6 Paper pad, Craft&You design My Wedding 6×6 Paper pad, Whimsy Stamps Winter Wishes 6×6 Paper Pad

That’s it for today. I have shown three different shapes and color schemes for making shaker cards from classical frame dies. I hope you enjoyed it. Which one is your favorite? Thanks so much for your stop by today. Hope to see you again, soon!

Sunday, March 18, 2018

[Simon Says Stamp] Easter cards using SSS March 2018 card kit

Hello, there!
I'm sharing Easter cards made with Simon Says Stamp March 2018 Card Kit.
Doing my design team works and some guest designing, I couldn't have enough time to play with the SSS card kit. Finally I had a little time to play along, today. So glad to share my cards!
Here are the ones.


To begin, I cut a copic friendly heavyweight cardstock into A2 size, then diecut it using Dot Scallop Border Die. I simply stamped images from "Showers& Flowers" and "Choose Joy" on it using masking when necessary, and colored them with copic markers.


For background panels, I stamped plaid image from Choose Joy set repeatedly to make a plaid pattern. 


I then foam mounted the colored panel onto a plaid background, rounded a twine bow, then adhered it to green card base. 
I finished off the card by adding some sequins.


I used the same way to make the second card with different color scheme. 


Love how the clean images go well with the neutral plaid background.


I'm entering these cards to the new SSS Flickr Challenge #93.
Hope you will enjoy it, too!
Thanks for reading this post.
Have a lovely day!
Marge


Friday, March 9, 2018

Pretty Pink Posh March Release Blog Hop-2


Hello, friends!
Today, I'm up on the Pretty Pink Posh blog as a Day2 Blog Hop for brand new March Release.
This is my card and you can see details at PPP blog in the link below.
Enjoy the hops!


Sunday, March 4, 2018

Pretty Pink Posh Mini Giveaway Winner

Hello!
I'm announcing the winner of my blog giveaway on March 1st.
The winner is Andrea Shell. Congratulations.
Please email me (musicdejour12@gmail.com) and let me know your mailing address, Andrea:)


Saturday, March 3, 2018

Altenew Build-A-Flower blog hop giveaway winner announcement


Hello, friends !
I'm announcing the winner of Giveaway 3 of my Build-A-Flower Blog Hop post. 
Thank you so much for your lots of lovely comments, I was so pleasant to read them.

The winner is "Annalisa Young"
Please email me to claim your prize within 10 days
(musicdejour12@gmail.com)
Thank you 

Have a good day!


Marge

[Spellbinders] Playaing with Die D-Lites series

Hello, friends!
Hope you are having a wonderful weekend.
Today, I'm going to share two cards featuring Spellbinders Dies D-Lites.

The first card features Die D-Lites Weekend Grill Etched Dies.
To begin, I cut the Dies out of copic friendly white paper, then colored the diecuts using copic markers. 
Then I made a cute frame background panel using Card Creator Floral Panel Card Etched Dies Flower Garden die. 


I then adhered Grill die cuts using thin double sided foam adhesives. 
Sentiment was chosen from Friends Forever set by Pretty Pink Posh. 


Copic Colors I used are E29/R39/R29/R27/R14,  YR09/YR08/YR04/Y38, W8/W6/W4/W2, C7/C5/C3/C1,  E49/E47/E44, B19/B32/B04/B02/B00,  BG49/BG45/BG15/BG11.

I finished off the card by adhering Sparkling Clear Sequins Mix


For my second card, I first die cut Die D-Lites You've Got Game Etched Dies out of copic friendly paper, then colored the sentiment using copic markers C9/C7/C5/C3. I ink blended the monitor using distress ink Tumbled Glass, and then I cut the line and mouse out of colored cardstock. 


Background panel was ink blended with distress inks : Twisted Citron, Squeezed Lemonade, Tattered Rose, and Picked Raspberry.
Sentiment was chosen from Encouraging Greetings Stamp Set by Pretty Pink Posh, and the card was finished off by putting some Jewels.


Now the two cards are finished.
Did you enjoy my cards today? 
Thanks for reading this post and I hope you to visit again soon :)


Hugs
Marge


Spellbinders Supplies 


Thursday, March 1, 2018

[Pretty Pink Posh] March Release + Giveaway


Hi, there ! 
Thanks for coming here.
It is official new release day at Pretty Pink Posh and I'm so pleased to share my card with you today.

As always, there are so many charming products in the March Release, I picked Cherry Blossoms Stamp Set as my favorite and made card shown below. You can review the whole release at Pretty Pink Posh Blog and You Tube Channel.


To begin, I stamped cherry blossoms and leaves on a copic friendly white card stock using distress ink Antique Linen.  I colored them using copic markers, and  gave more shades using Prismalcolor polychromo pencils. Copic markers I used are RV25/RV23/RV21/RV11/RV00, BG49/BG45/BG15/BG11, YG17/YG03/YG01. Then I cut them all using Cherry Blossoms Coordinating Dies


I prepared an A2 sized white card stock, then I stamped sentiment from Encouraging Greetings Stamp set, which is also one of the new release on the center, put a large oval frame diecut from Scallop Oval Dies, with giving some dimensions using multiple cuts and foam sheets. Then I arranged blossoms and leaves on the card.


I adhered the panel onto a gray cardbase, then put Jewels here and there as a final embellishment. Speaking of Jewels Collection, it is really amazing, must-have item! The beautiful sparkling shines make all kinds of cards look so beautiful. See the sparkling shiny effects of the Jewels on the card in the photo below. 
I used Pink Blush Jewels and Aquamarine Jewels for this card.


Although I took many photos, they don't work well on the Jewels. You must see them in real ! 

Before closing up my post, let me show you my craft hauls of March Release that I received from Pretty Pink Posh .


These are Jewels Bundle that you can get at a price with $5 saved when you buy all.


Thanks for reading this post.
Did you enjoy my card and the New Release, today? :) 
Don't miss the giveaway info below ! 


- GIVEAWAY -

Please leave a comment on this post until March 3rd, I'll pick one lucky winner who will receive this cute stamp set (Birthday Scene Stamp set) and my card.  


Hope spring comes soon to you all!
Have a wonderful day!

Marge


Monday, February 26, 2018

Altenew Build-A-Flower Blog Hop + Giveaway


Hi, everyone!
Thanks for visiting my blog today.
Altenew is celebrating their  first-year anniversary of the Build-A-Flower Releases which launched in March last year.
Hope you are enjoying the Blog Hops now!

Altenew Card Blog

Altenew Scrapbook Blog

I'm honored to be invited to the Blog Hop and I'm sharing two cards featuring Build-A-Flower Coral Charm Set which was released in last July.


For my first card, I did watercoloring using Daniel Smith Watercolor paints.
To begin, I stamped Coral Charm images on the 300g weight cold pressed watercolor paper using Versafine Onyx Black ink. Then I water colored blossoms and leaves. Main colors I used are described at the end of the post.


I then cut the images using coordinating dies and fussy cut the mini blossoms.


Next, I die cut another watercolor card stock using Watercolor Stripes Cover die, then water colored it using Daniel Smith paints. After the cover panel dried up, I stamped sentiment on the upper third area of the panel.


I adhered the cover panel onto A2 size, top-folded cardstock using foam tapes, then placed the blossoms and leaves using glue and foam tapes. As a final touch I put some sequins , rounded a natural twine and made a bow on the top of the card.


For my second card, I decided to go with layered stamping since Altenew's Build-A-Flower sets have gorgeous pieces for layered stamping!


I stamped outline of blossoms and leaves using Versafine onyx black ink , then I s
tamped solid images layer by layer.
I used Warm Gray Mini Cubes Set (Moon Rock, Evening Gray, Morning Frost) for blossoms, Sea Shore Mini Cube Set (Emerald Lagoon, Volcano Lake, Mountain Mist ) for leaves. Then cut them all using coordinating dies.


I prepared an A2 sized side- folded white card base, stamped sentiment on the center, mini blossoms on the top and bottom of the card base using Silver Stone dye ink (as shown below)


Then I adhered blossoms and leaves on the top left corner and on the bottom right corner of the card. Finally I finished it off by adding some sequins.


Thank you so much for reading this post.
I have shown two ways of using the Build-A-Flower Coral Charm Set today.

Hope you enjoyed it and hope to see you again in my future posts.


< Daniel Smith Watercolors I used >


Quinacridone Coral, Permanent Alizarin Crimpson, Alizarin Crimpson, Quinacridone violet, Pthalo turquiose, Quinacridone magenta, Rose of ultramarine, Imperial purple, Prussian Green and Sap Green, New Gamboge,Burnt Umber and Cobalt Teal Blue


Don't miss the three giveaways information below!


       Altenew Giveaway 1

Altenew is giving away a $30 gift certificate to six lucky winners! Please leave a comment on the Altenew Card Blog and/or Altenew Scrapbook Blog by Friday, March 2nd for a chance to win. Six winners will be announced on the Altenew blogs on 3/4/2018.

Altenew Giveaway 2

Place an order from the Build-A-Flower Collection from 2/26/2018 until 3/2/2018, and you will automatically be entered into a raffle for a chance to win a big prize! One lucky winner will be chosen to win a prize pack valued at over $120 including one Original MISTI stamping tool, Artist Markers Set C, and Soft Pastel 6 Mini Cube Set. No minimum purchase needed! A winner will be announced on March 4th on the Altenew Blogs.


Altenew Giveaway 3

Please leave a comment here on my post by Friday, March 2nd, EST. One lucky winner will receive $20 gift certificate from Altenew. I'll announce the winner on March 3rd 2018, 8AM, EST on my blog.


< Blog Hop Lists>

If you haven't hopped along all the blogs yet, please visit the links below, get lots of inspiration, and just have fun!