Tuesday, February 13, 2018

[Simon Says Stamp] Making Valentine Cards Full of Sweet Icecream Cones

Hi, there !
Hope you are having a happy day.
Valentine Day is coming soon, and today I have four Valentine cards to share with you featuring "Picture Book Icecream Cone Wafer Dies" from Simon Says Stamp Love 2018 Collection.
 

For the first card, I inked edges of each diecut with Tea Dye ink to give some clean vintage look.
I gave focal point to the card using red sentiment strip.

For the second card, I used bright colored pattern papers and heart sprinkles from Doodlebug designs to make the card look the cutest ever !


In the third card, I used lovely pattern papers and stickers that were included in the Simon Says Stamp Limited Valentine 2018 Kit. Only diecutting was used here. No stamping .


Lastly, I wanted to make sherbet icecream cones, so I colored the diecuts with distress inks. Sentiment was from Handwritten Love Stamp set, which was heat embossed using clear embossing powder.


As you mighve have guessed, I'm a huge fan of Picture Book Dies series by SSS, and when I first saw this cute Icecream Cone dies on the new release day, I was so excited and couldn't wait to play with it.
Whether pretty or not my cards are, I really had fun making these.


I'm entering these 4 cards into the current SimonSaysStamp Wednesday Challenge and SimonSaysStamp Flickr Challenge #90 . Thanks for reading this post. I hope you enjoyed it.
See you again !
 
Marge.


Sunday, February 11, 2018

[Spellbinders] Lavender cards with die cut layering


Hello, crafty friends !
These days I'm having fun playing with Spellbinders dies.
Today I have several cards to share with you featuring Shaperbilities Lavender Swag Etched Dies S4-839 .  This is a lavender shaped middle sized die, which is so versatile that you can use  it in various  ways like I show in the picture below.


To begin, I die cut it several times from white card stock , then colored them using distress inks and copic markers.


For my first card, I chose some vintage woody colored papers and cut them using Nestabilities Labels 39 Etched Dies and Nestabilities Labels 39 Decorative Elements Etched Dies to make elegant frames for the Lavender Swag.


I distressed edges of big rectangle background panel, then I ink blended all edges of diecuts using Tea Dye Distress ink. 


Then I put each cut layer by layer using tapes and foam tapes.
I also added Olive green bow beneath the frames. 


I used various kinds of gemstones from Prima Marketing to embelish the card.


Now the first card is finished.


After then, I wanted to try another color palette, so I chose to go with light blues.


The whole process was quite similar with the first one, and this is how it turned out.


For the branches of Lavenders, I used distress inks, Mermaid lagoon and Peacock Feathers.
For the yellow blossoms, I colored another piece of diecut using copic markers (Y38, Y19, Y15, BG01), cut the blossoms and put them onto the distressed branches. 


I also used Prima Marketing's gemstones and light blue ribbon from May Arts.


For the third card, I wanted to go with simple layout with clean look.
So I colored theLavender diecut using Distress inks, Weathered Wood and Tumbled Glass.


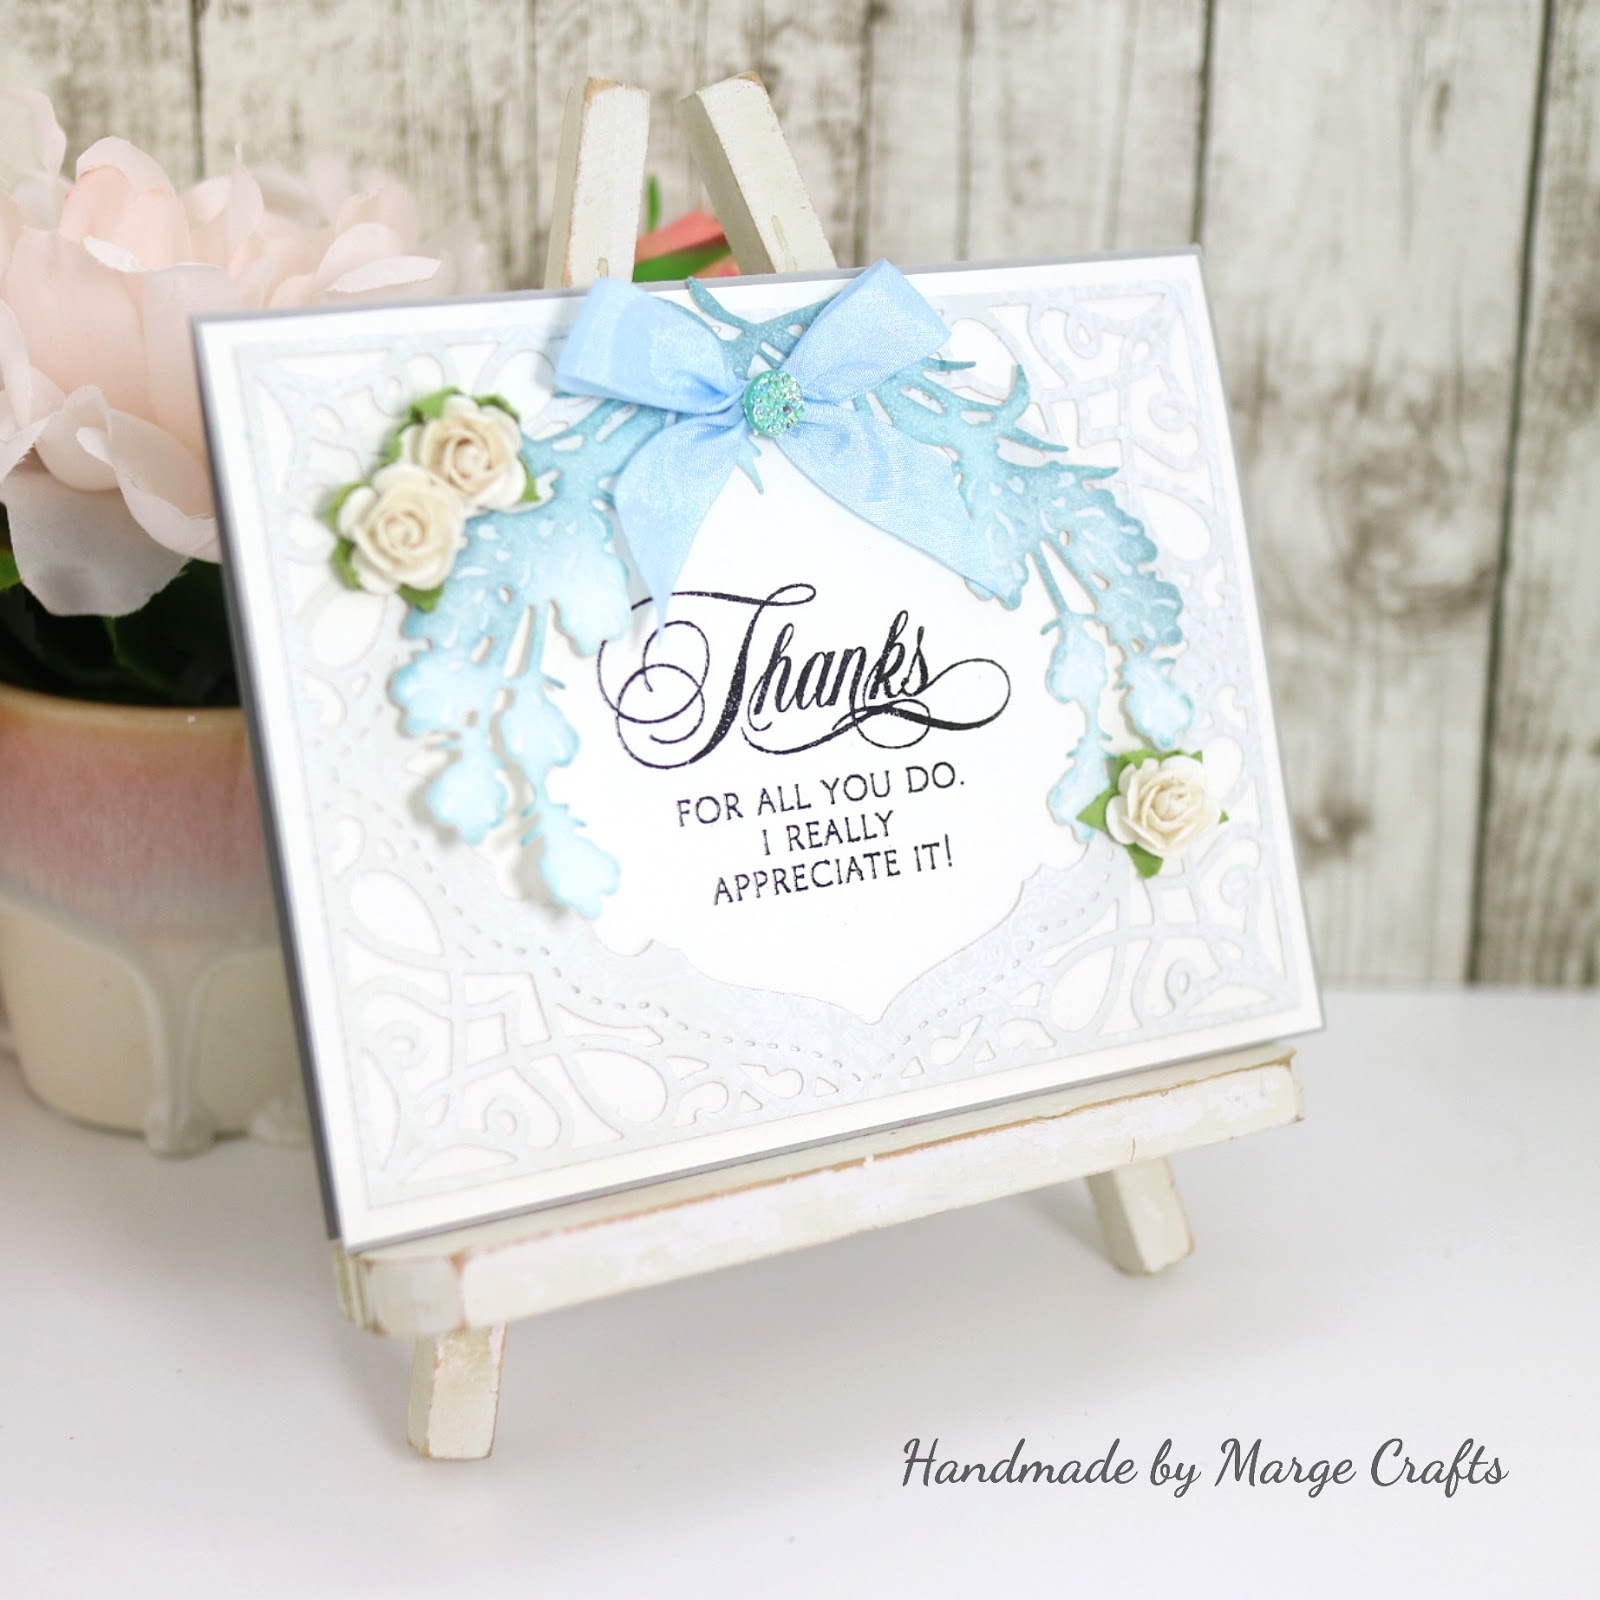
Then I made an elegant frame using the A2 Tranquil Moments Card Creator Etched Dies S5-216, adhered it onto a white cardbase, then put the Lavender Swag Die cut on it. 


I then put light blue ribbon, small white paper-rose blossoms, and gemstones for embellishment.


Although this card was made very simple, I loved the elegant clean look so much.


For my fouth card, I decided to make a lavender bouquet with the die cuts. So I colored three sets of Lavender Swag diecuts using distress inks and copic markers (RV69, V09, V17, V15, R39, RV29, RV25, BV09...). I then cut in half of all the Lavender diecuts, then made a bouquet.


For a background to put the bouquet on, I chose an elegant frame die from
Nestabilities Radiant Rectangles Etched Dies. 


I heat embossed the sentiment on a dark brown card stock using white embossing powder, then cut out it using the coordinating die, then foam mounted it onto the lavender bouquet.


Lastly, I have two more cards to share!
These are clean and simple cards that can be made very quickly.


I colored the diecuts , then adhered them onto background panels, finished off by adding twines, blossoms, and sequins.


How amazing that I made a total of 6 cards featuring one die set!!


I didn't expect this at all , it just went that way while I was cutting and coloring, which means that the Lavender Swag Etched Die is so versitile and inspiring!
You will agree with me when you face this :)


Spellbinders Supplies :

Other Supplies : 
Stamps : Penny Black Special Thoughts, Simon Says Stamp Kind Flower
May Arts Silk Ribbons
May Arts twines : natural, ivory
Pretty Pink Posh Sequins
Prima Marketing Gemstones.

Have you enjoyed my post today?Thanks for your visit and reading this.Hope you will come again later. Have a wonderful day.
Marge.

Saturday, February 10, 2018

[Simon Says Stamp] Watercoloring Cosmos Background

Hi, friends!
Spending relaxing Sunday, I made a watercolor card today.
The whole scene was created from one stamping of cling background stamp from Simon Says Stamp, which is Cosmos Background.


I stamped the image using versafine onyx black ink, then watercolored it using Daniel Smith paints.

Colors : Red Blossoms (Quinacridone coral, Alizarin crimpson, Perm alizarin crimpson), Violet blossoms (Quinacridone violet, Carbazole violet, Imperial purple, Phthalo turquoise), Stems ( Sap green, Undersea green), Orange blossoms (Organic Vermilion/Quinacridone sienna/ Quinacridone burnt orange), Center for blossoms (Quinacridone gold) , Background (Burnt Umber)


When watercoloring, I first colored in light using more water , then gave darker shades using deeper colors and/or less water.


After finishing coloring, I added a slip of vallum paper, then adhered Script Thanks Wafer die cuts on it. Final touch was adhering some Sparkling Clear Sequins here and there.


Thanks for reading this post.
Have a great day.
Marge


[Simon Says Stamp] Tone on Tone Stenciling card

Hi, there!
Today, I have a card using stencil from Simon Says Stamp 2018 Love Collection.


To begin, I trimmed a paper into A2 size, then blended it using distress oxide inks. I gave it color gradiation from bottom to top using oxide colors Picked Raspberry, Worn lipstic, Fossilized amber, Twisted Citron, Cracked Pistachio, and Peacock Feathers. 


Then I put Folk Dance Stencil on it, and sponged the same colors on the stencil. Then I cut the panel using Wonky Retangles Wafer dies and foam mounted onto a cardbase.


I die cut I Love You from a vellum paper & an alcohol inked scrap, then glued them on the card.
I also whited heat embossed "my sweet friend" from Hello You Stamp set on a navy cardstock, trimmed it, and foam mounted beneath I love you script die.
I finished off the card by putting some sequins here and there.


That's it for today.
Thank you so much for reading this post. 
I'm entering this card into the current Simon Says Stamp Flickr Challenge and Wednsday Challenge.

Marge


Saturday, February 3, 2018

[Spellbinders] Romantic Flower Cards using Poppies Etched Dies


Hello, crafty friends !
Today  I had fun making some romantic flower cards using the dies from Spellbinders.


The die set I'm going to feature is Shaperbilities Poppies Etched Dies S4-815.
To begin, I die cut the poppies from a heavy weight watercolor card stock, then colored them using Distress inks or other watercolor mediums.


For the first card, I colored poppies die cuts using distress inks then applied some Wink of Stella on them.
I used Worn Lipstick, Picked Raspberry, Tea Dye, Seedless preserves for petals, Mowed lawn and Peacock Feathers for stem and leaves. 


I also made a second diecut using silver vellum paper to lay beneath the colored poppies.
For the card frames, I cut some floral pattern papers using  A2 Tranquil Moments Card Creator Etched Dies S5-216 from Spellbinders and layered them using foam tapes.
Then I thought the flowers need some friends, so I added a piece of butterfly from Shaperbilities Wreath Elements Etched Dies four seasons by Lene Lok S5-338 , which was blended with Twisted Citron and Mowed Lawn. 


As a final touch, silk ribbon bows and semi round pearls were used.


For the second card, I colored poppies using Daniel Smith Watetcolors, and the butterfly was blended using distress inks. 


I also used clear vellum paper die cut beneath the colored poppies, which gives the card more dimension and elegant look.


Main Daniel Smith Colors I used are Quinacridone Coral, Prussian Green, and Quinacridone gold. 
For the card frame, I used A2 Devine Eloquence Card Creator Etched Dies S5-218 and I inked the edges of frames using a little bit of Tea Dye to give some vintage look.


Now the two cards are finished.
I love how the poppies look well with the elegant frame dies and butterfiles, I also love how the colored poppies gave focal interest to the cards.


Which one is your favorite? 


Thanks for reading this post. I hope you enjoyed it.
Supplies are linked in the context and described below as well.
Have a good day!
Marge ♡


Supplies I used :
Dies are all from Spellbinders.

Dovercraft Designer Paper Pack- Floral Muse 6x6
Craft and You Design - My wedding 6x6 

North Coast Creations Floral Sentiments 2