Hello, crafty friends !
These days I'm having fun playing with Spellbinders dies.
Today I have several cards to share with you featuring Shaperbilities Lavender Swag Etched Dies S4-839 . This is a lavender shaped middle sized die, which is so versatile that you can use it in various ways like I show in the picture below.

To begin, I die cut it several times from white card stock , then colored them using distress inks and copic markers.

For my first card, I chose some vintage woody colored papers and cut them using Nestabilities Labels 39 Etched Dies and Nestabilities Labels 39 Decorative Elements Etched Dies to make elegant frames for the Lavender Swag.

I distressed edges of big rectangle background panel, then I ink blended all edges of diecuts using Tea Dye Distress ink.

Then I put each cut layer by layer using tapes and foam tapes.
I also added Olive green bow beneath the frames.

I used various kinds of gemstones from Prima Marketing to embelish the card.

Now the first card is finished.

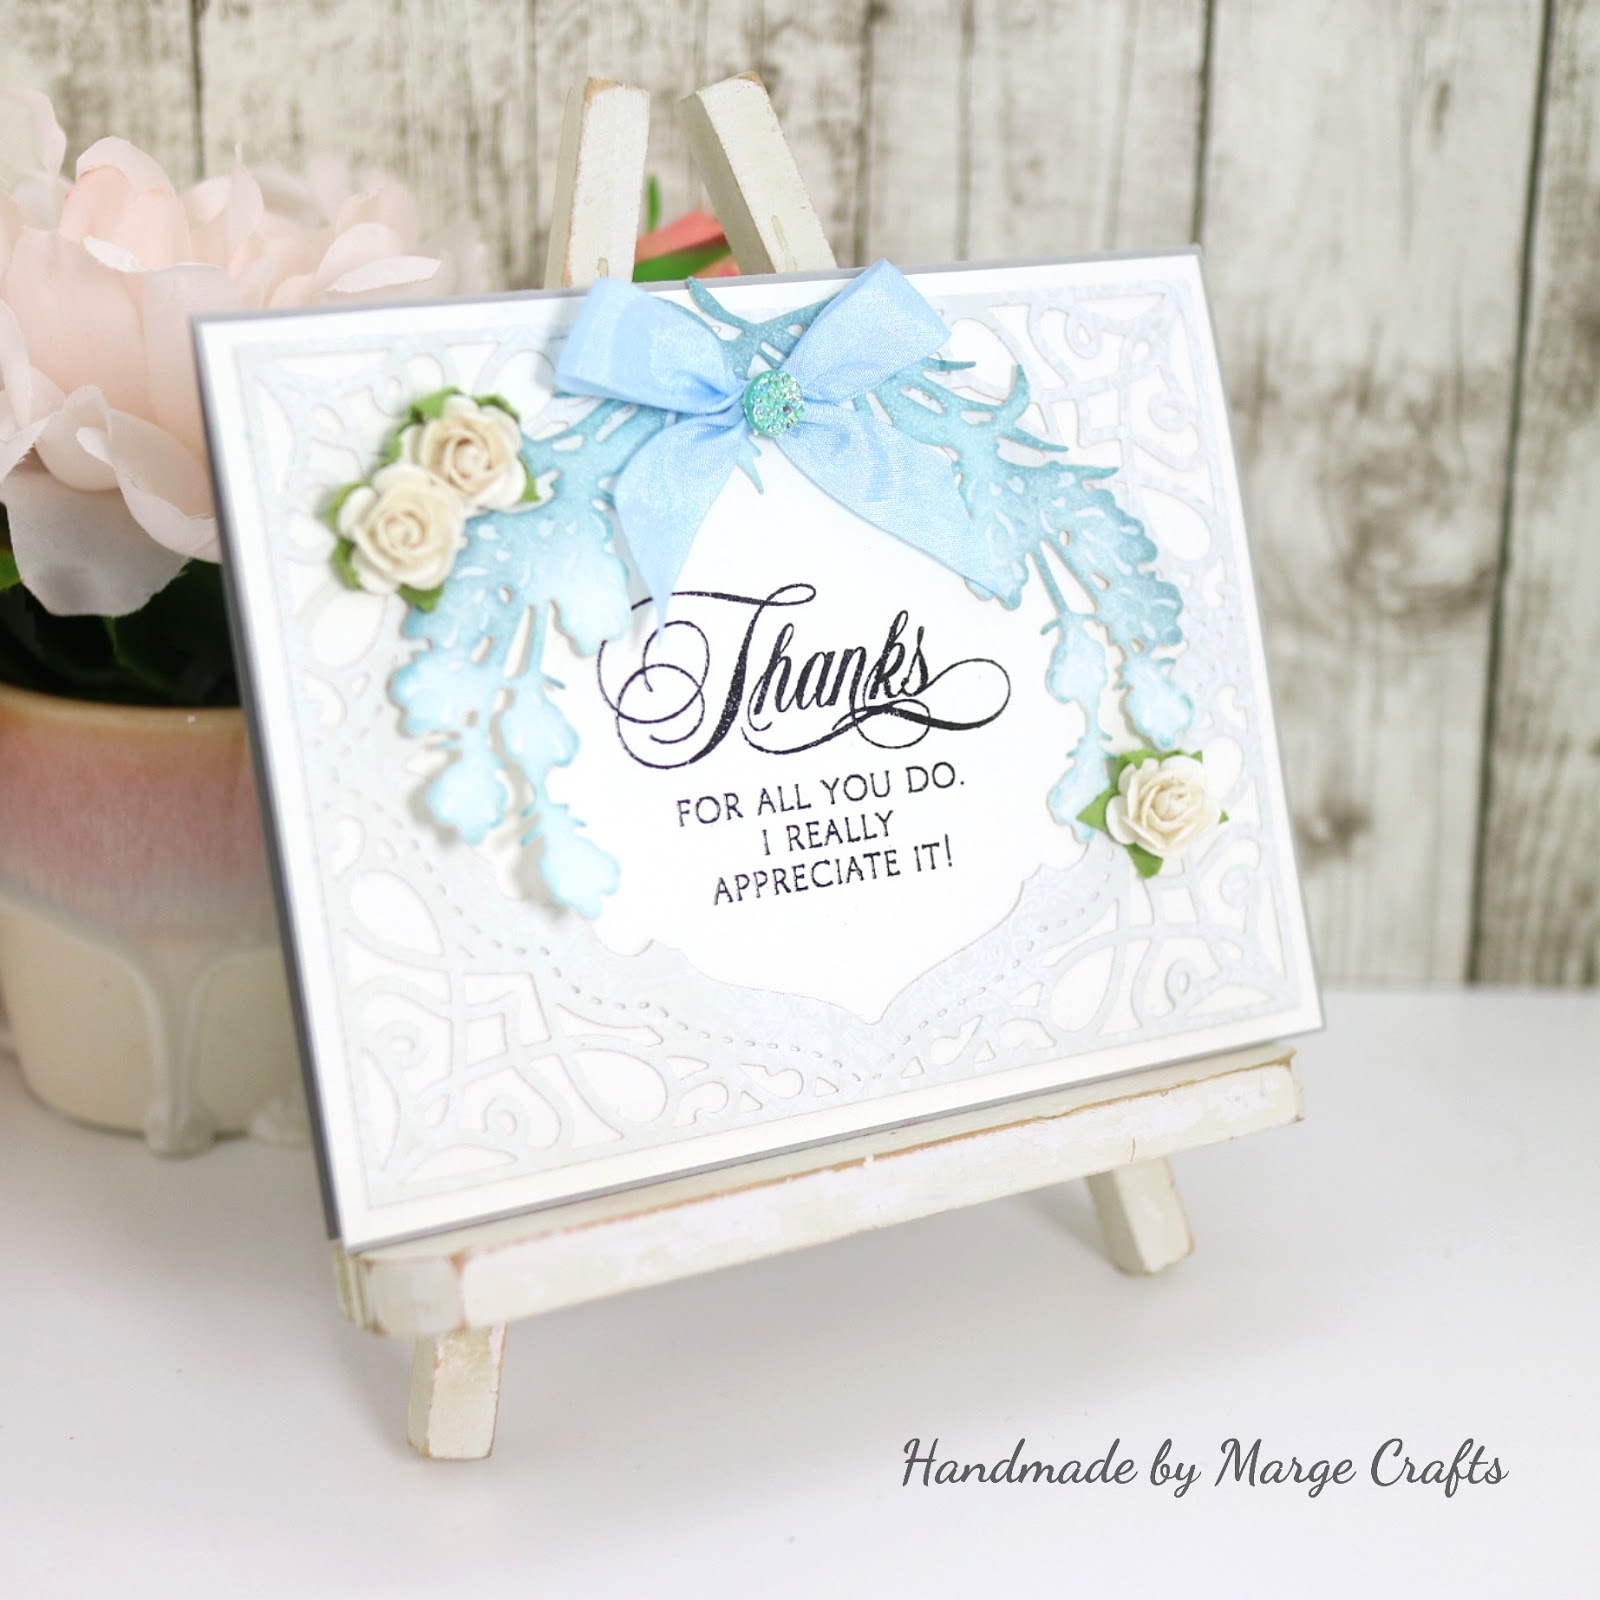
After then, I wanted to try another color palette, so I chose to go with light blues.

The whole process was quite similar with the first one, and this is how it turned out.

For the branches of Lavenders, I used distress inks, Mermaid lagoon and Peacock Feathers.
For the yellow blossoms, I colored another piece of diecut using copic markers (Y38, Y19, Y15, BG01), cut the blossoms and put them onto the distressed branches.


I also used Prima Marketing's gemstones and light blue ribbon from May Arts.

For the third card, I wanted to go with simple layout with clean look.
So I colored theLavender diecut using Distress inks, Weathered Wood and Tumbled Glass.

Then I made an elegant frame using the A2 Tranquil Moments Card Creator Etched Dies S5-216, adhered it onto a white cardbase, then put the Lavender Swag Die cut on it.

I then put light blue ribbon, small white paper-rose blossoms, and gemstones for embellishment.

Although this card was made very simple, I loved the elegant clean look so much.
For my fouth card, I decided to make a lavender bouquet with the die cuts. So I colored three sets of Lavender Swag diecuts using distress inks and copic markers (RV69, V09, V17, V15, R39, RV29, RV25, BV09...). I then cut in half of all the Lavender diecuts, then made a bouquet.

For a background to put the bouquet on, I chose an elegant frame die from
Nestabilities Radiant Rectangles Etched Dies.

Sentiment tag was made from Vintage Elegance Giving Occasions Stamp and Die Set.
I heat embossed the sentiment on a dark brown card stock using white embossing powder, then cut out it using the coordinating die, then foam mounted it onto the lavender bouquet.

Lastly, I have two more cards to share!
These are clean and simple cards that can be made very quickly.

I colored the diecuts , then adhered them onto background panels, finished off by adding twines, blossoms, and sequins.

How amazing that I made a total of 6 cards featuring one die set!!

I didn't expect this at all , it just went that way while I was cutting and coloring, which means that the Lavender Swag Etched Die is so versitile and inspiring!
You will agree with me when you face this :)

Spellbinders Supplies :
Other Supplies :
Stamps : Penny Black Special Thoughts, Simon Says Stamp Kind Flower
May Arts Silk Ribbons
May Arts twines : natural, ivory
Pretty Pink Posh Sequins
Prima Marketing Gemstones.
Have you enjoyed my post today?Thanks for your visit and reading this.Hope you will come again later. Have a wonderful day.
Marge.
색다른 느낌의 카드들이 너무 멋있어요! 마지막에 CAS 카드 버전들도 멋지고요!!
ReplyDelete