Hello and welcome everyone!
It's the second day of Pretty Pink Posh October Release Blog Hop. Hopefully, you've arrived here from my talented friend Zsofia Molnar or you can start hopping along at Pretty Pink Posh blog.
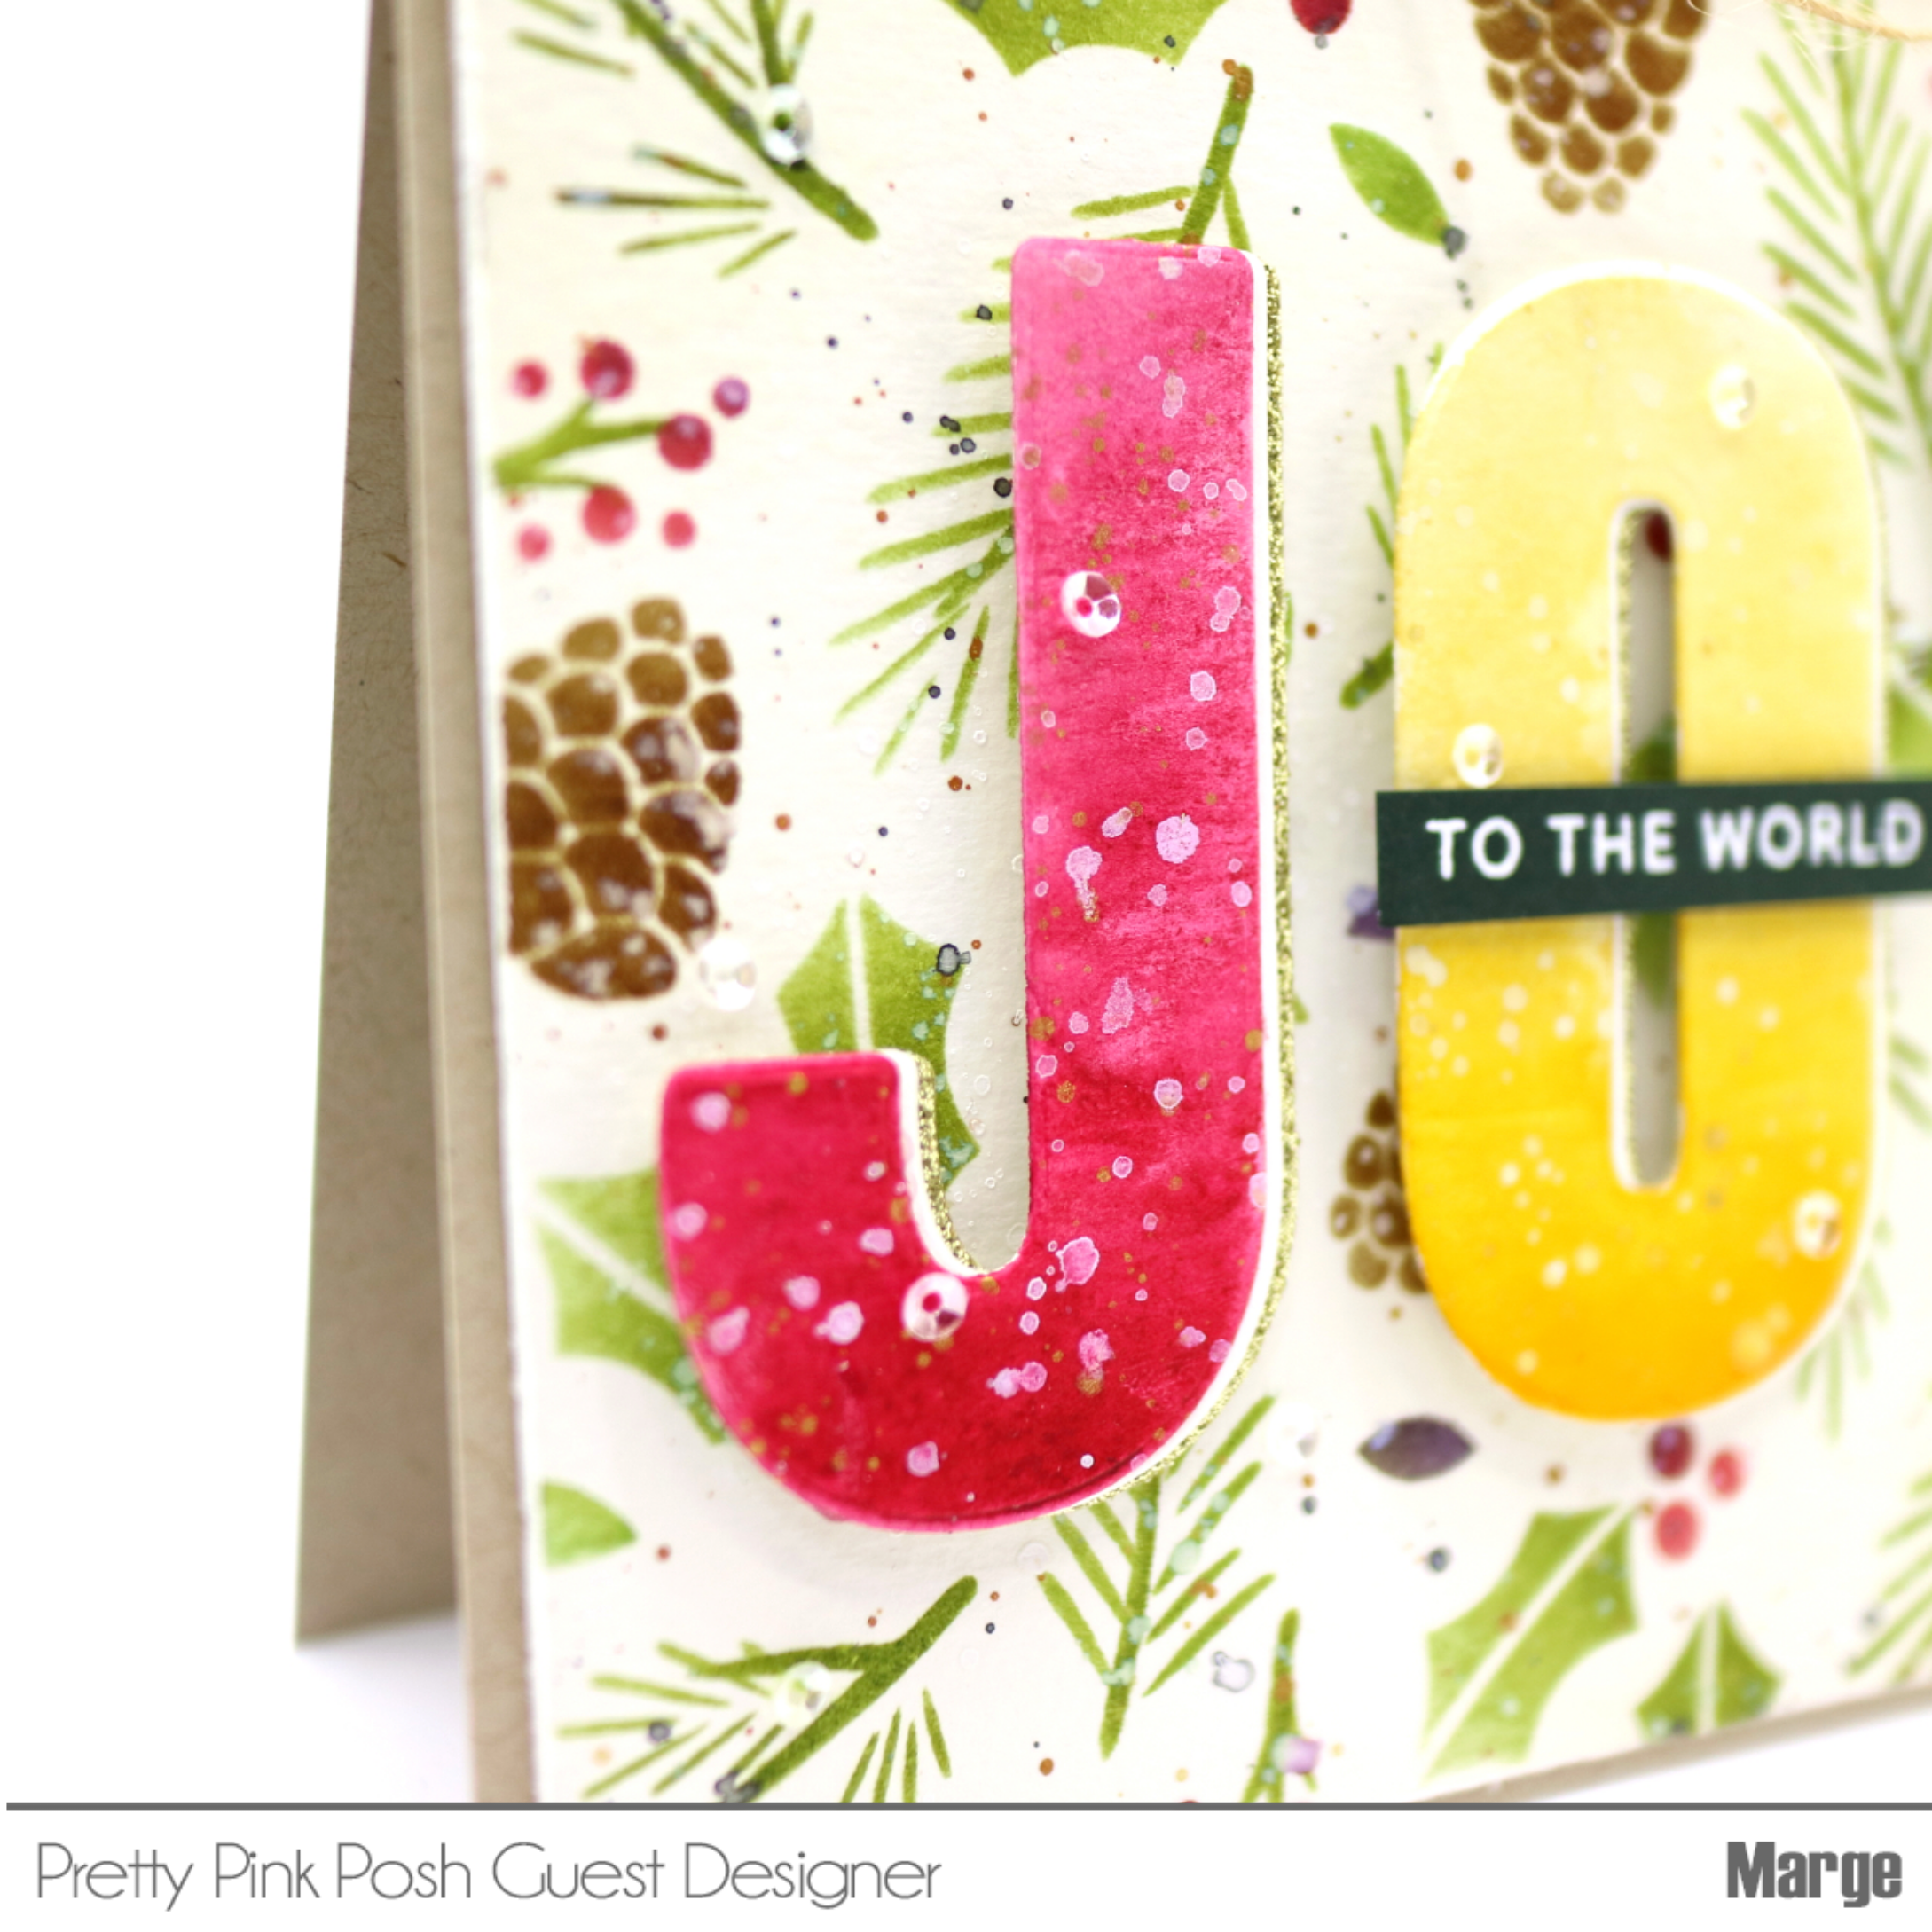
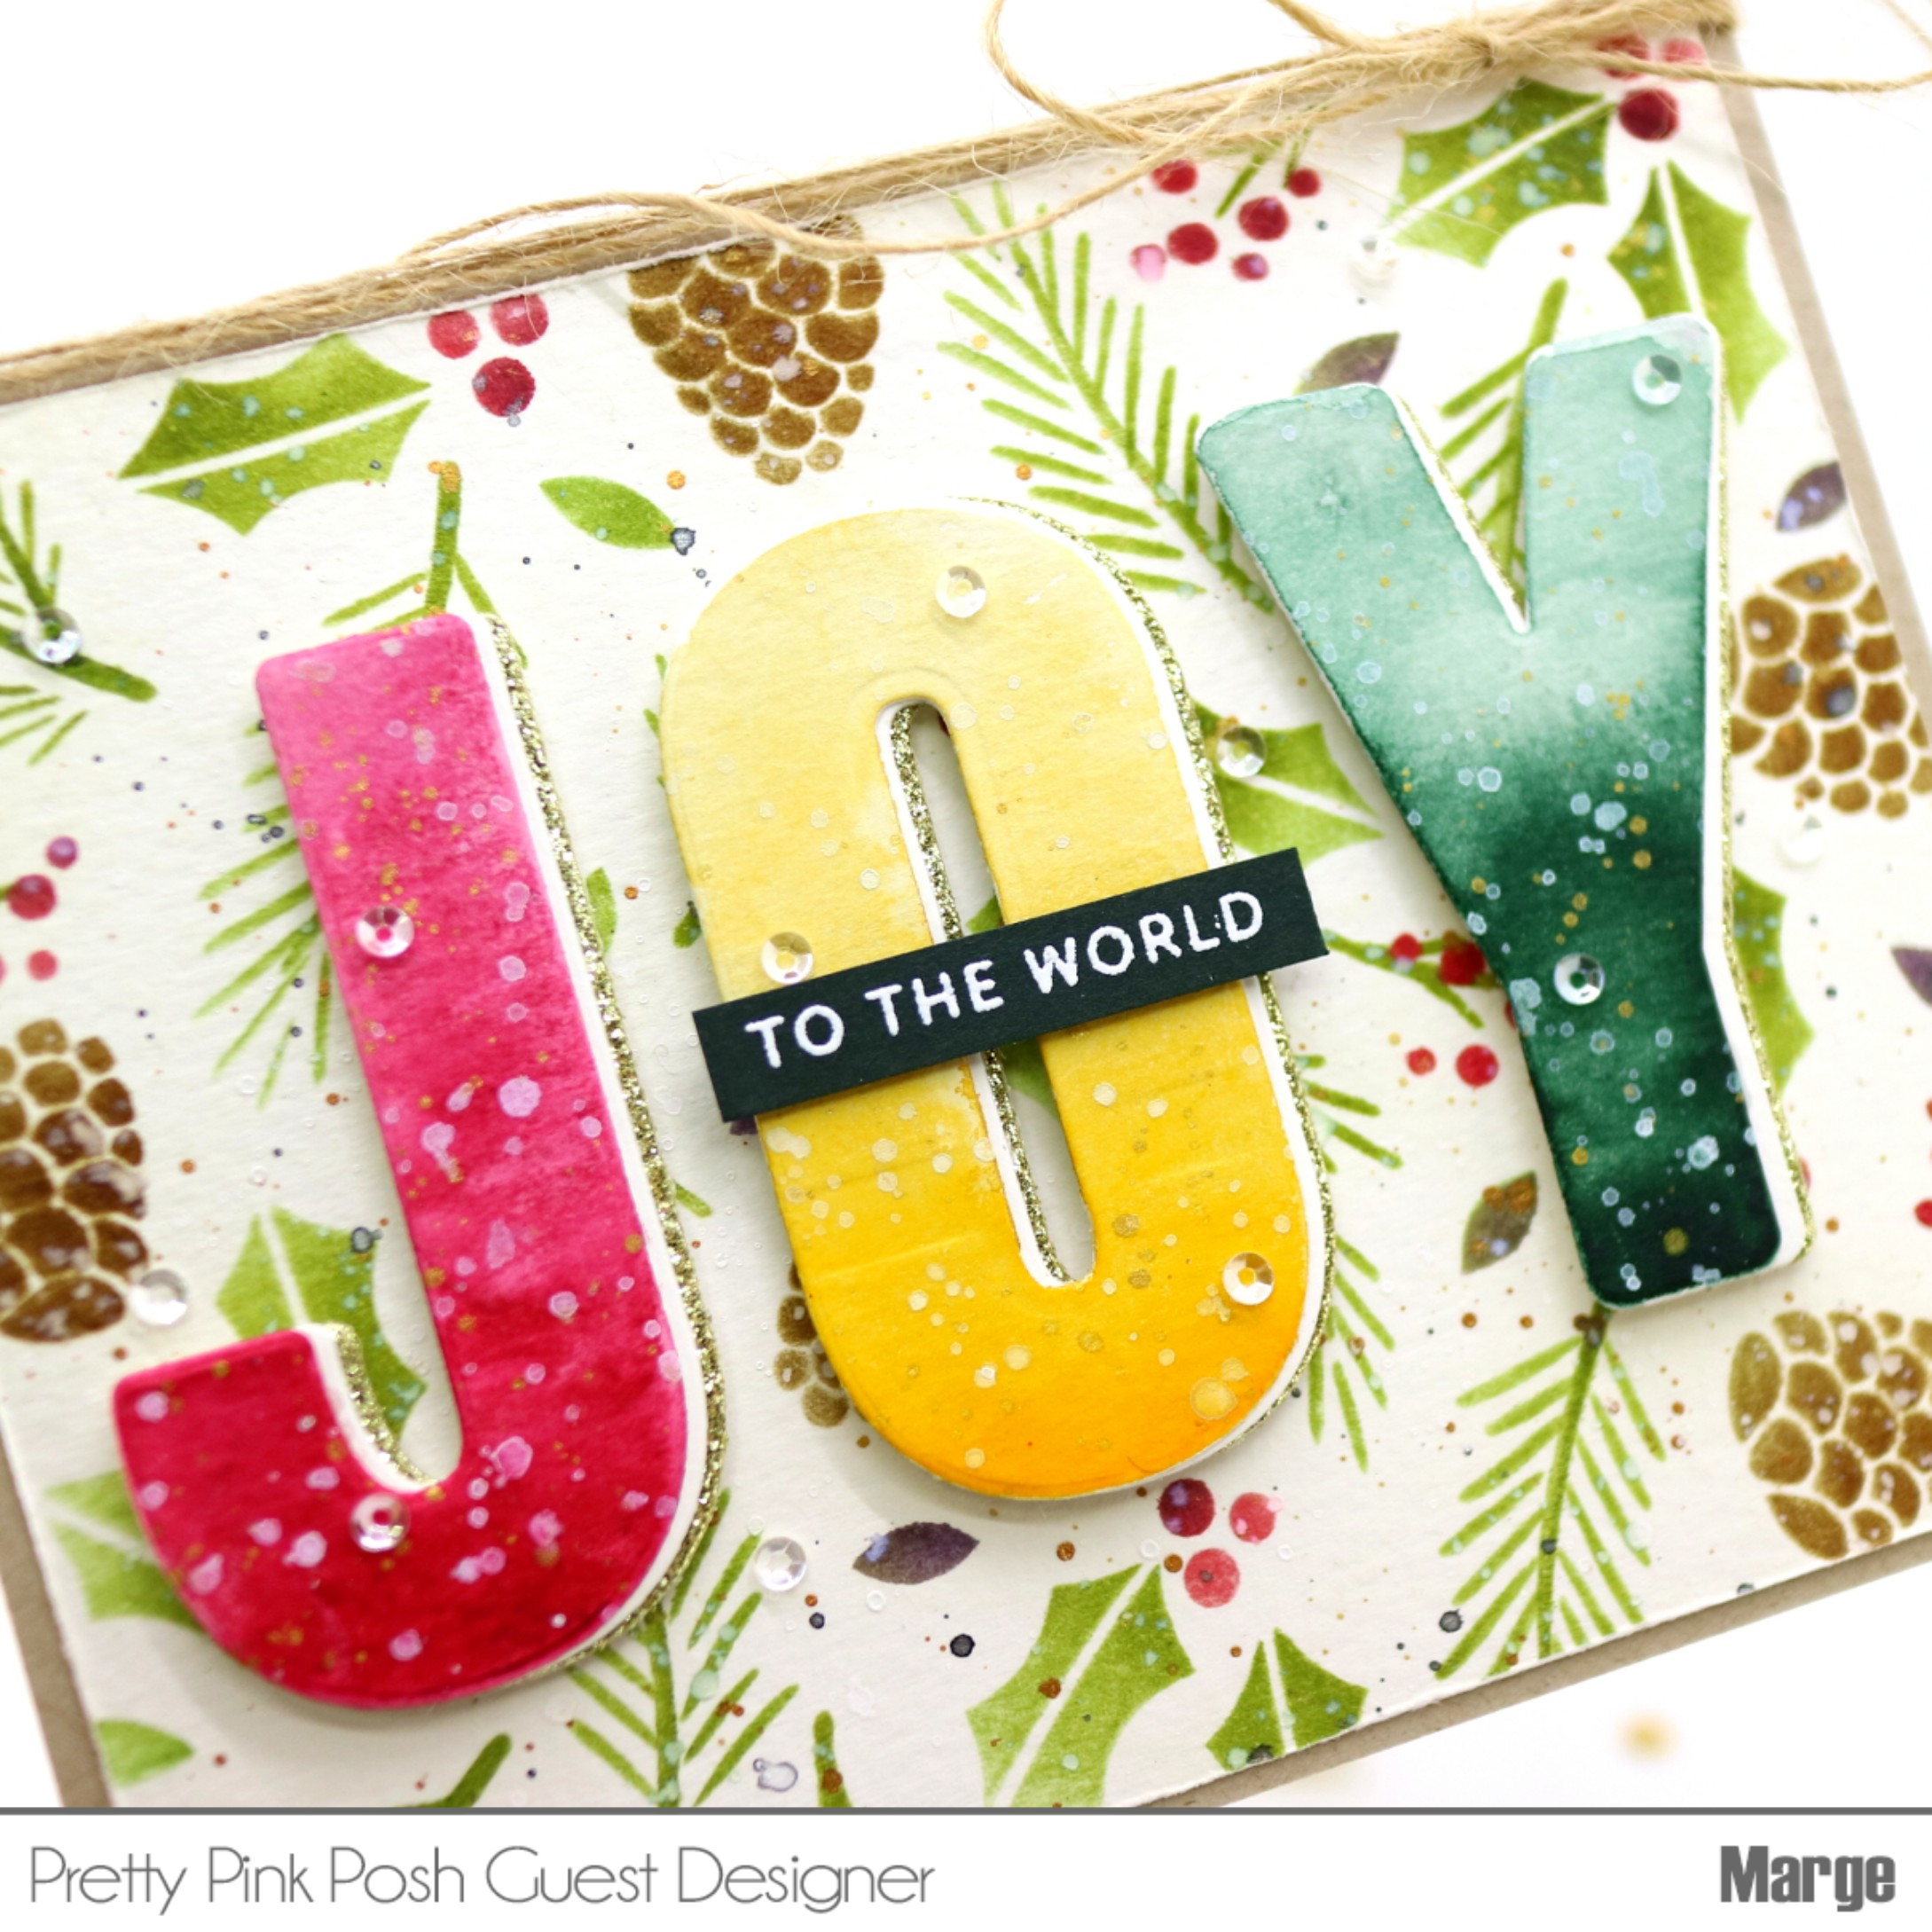
Today, I'm going to share with you a few cards that mainly feature Pine Wreath Stamp set.
[ Giveaway Info ]
Please leave a comment for a chance to grab a $30 gift certificate. One winner each day will be picked randomly along the blog hop. Comments must be left by 11:59 PM PST on 10/24/2022. Winners will be announced on the PPP blog.
[ Blog Hop Cards Details ]
The
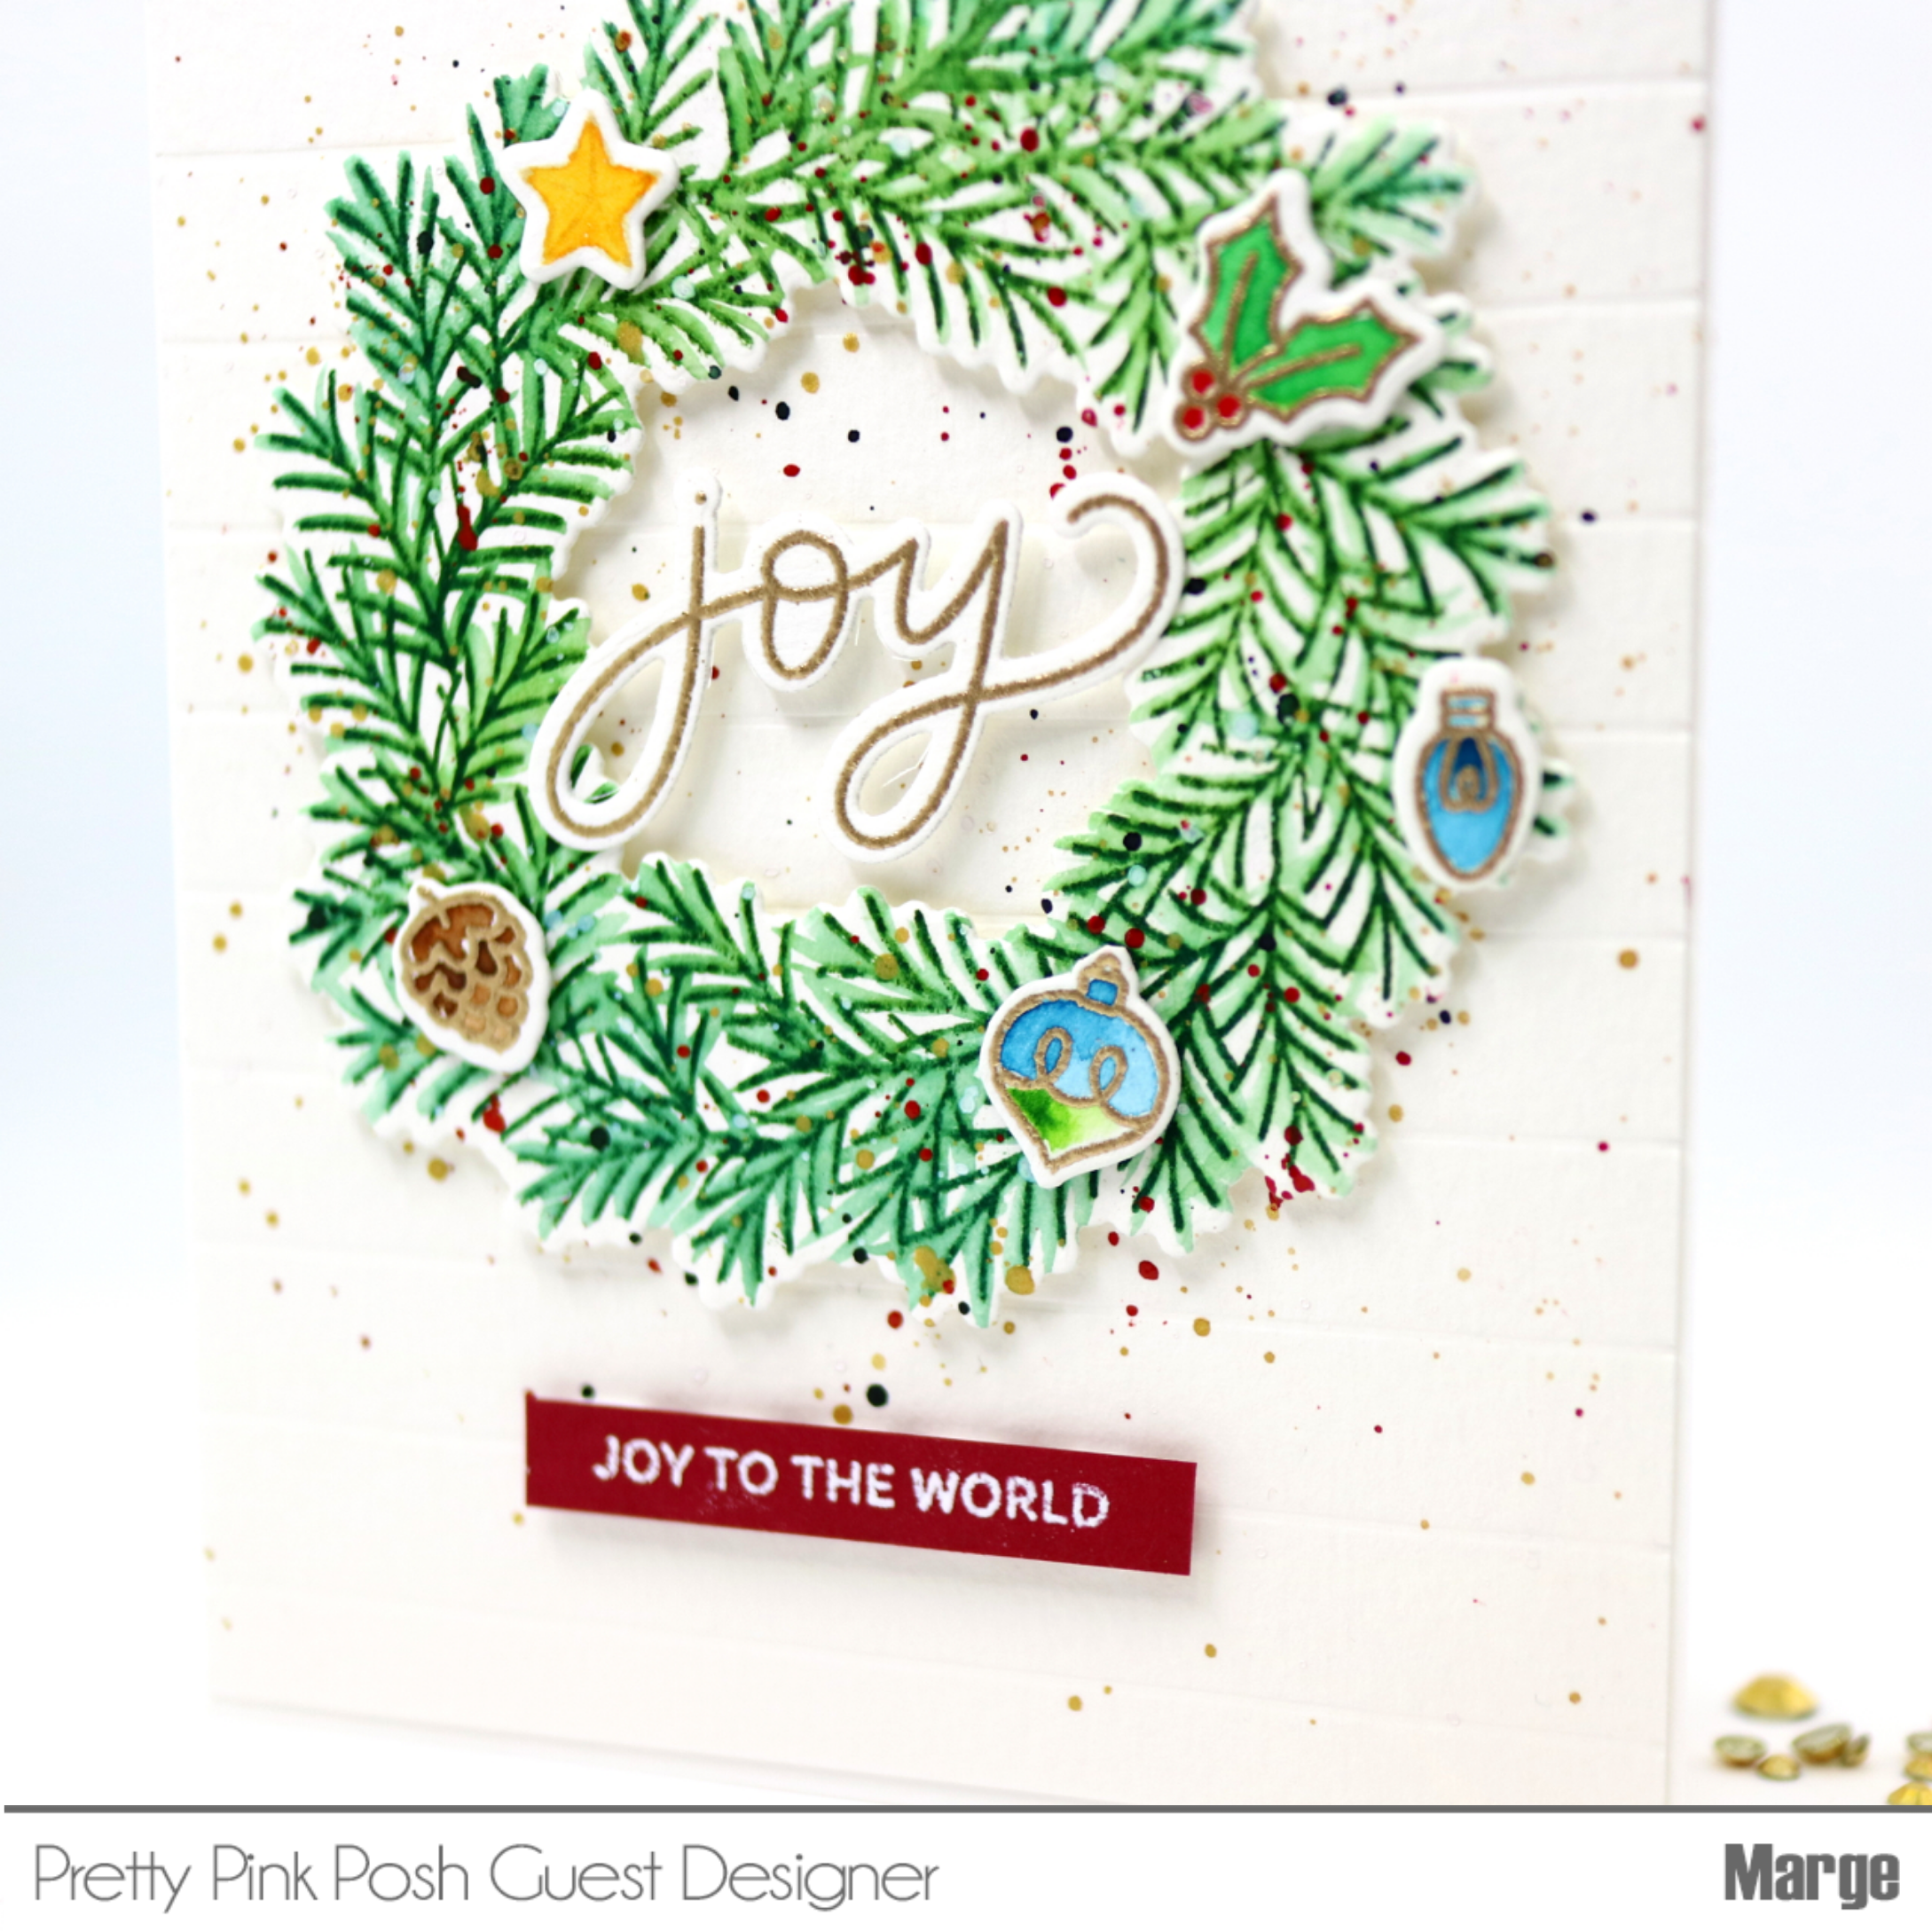
Pine Wreath image is so unique and has lots of design possibilities that it's one of my favorites from the new release and here's my first card using it.
Tips to make a real look pine wreath
I stamped the wreath onto watercolor paper using regular distress inks Rustic Wildeness, Pine needles, and Crushed Olive. Then I brushed each pine needles along the stamped lines with a wet brush to add more realistic look to the wreath. By doing this, the original stamped lines would become blurred. So after I finished waterbrushing, I stamped again onto the colored images to get clearer pine needles. In order to stamp the wreath exactly in position several times, I used my mini-MISTI (or any stamping tool). I also paid attention not to move the panel on MISTI until I'm satisfied with all the lines and leafy shades while I repeated stamping and waterbrushing. I made a couple of wreaths using the same process! I'm also sharing a short making video on my Instagram REEL (
@marge.crafts), so if you're interested in watching it, please check my IG account.

After finishing the wreath I stamped small ornaments from the same
Pine Wreath set with Versamark ink, heat embossed them in gold and watercolored them. Next, I diecut all the images using
Pine Wreath Coordinating Dies.
I prepared a backdrop panel by making transverse score lines with 0.5 inch interval on the same watercolor paper. I adhered the wreath onto the backdrop using foam adehsives , then I added lots of ink splatters. I love how the red, deep green and gold splatters themselves look like small ornaments and how they make more holiday mood to the wreath. Next, I adhered small ornamens around the wreath.
I heat embossed a sentiment 'joy to the world' from
Holiday Sentiments Stamp Set in white on red cardstock and added it under the wreath and finished off the card.
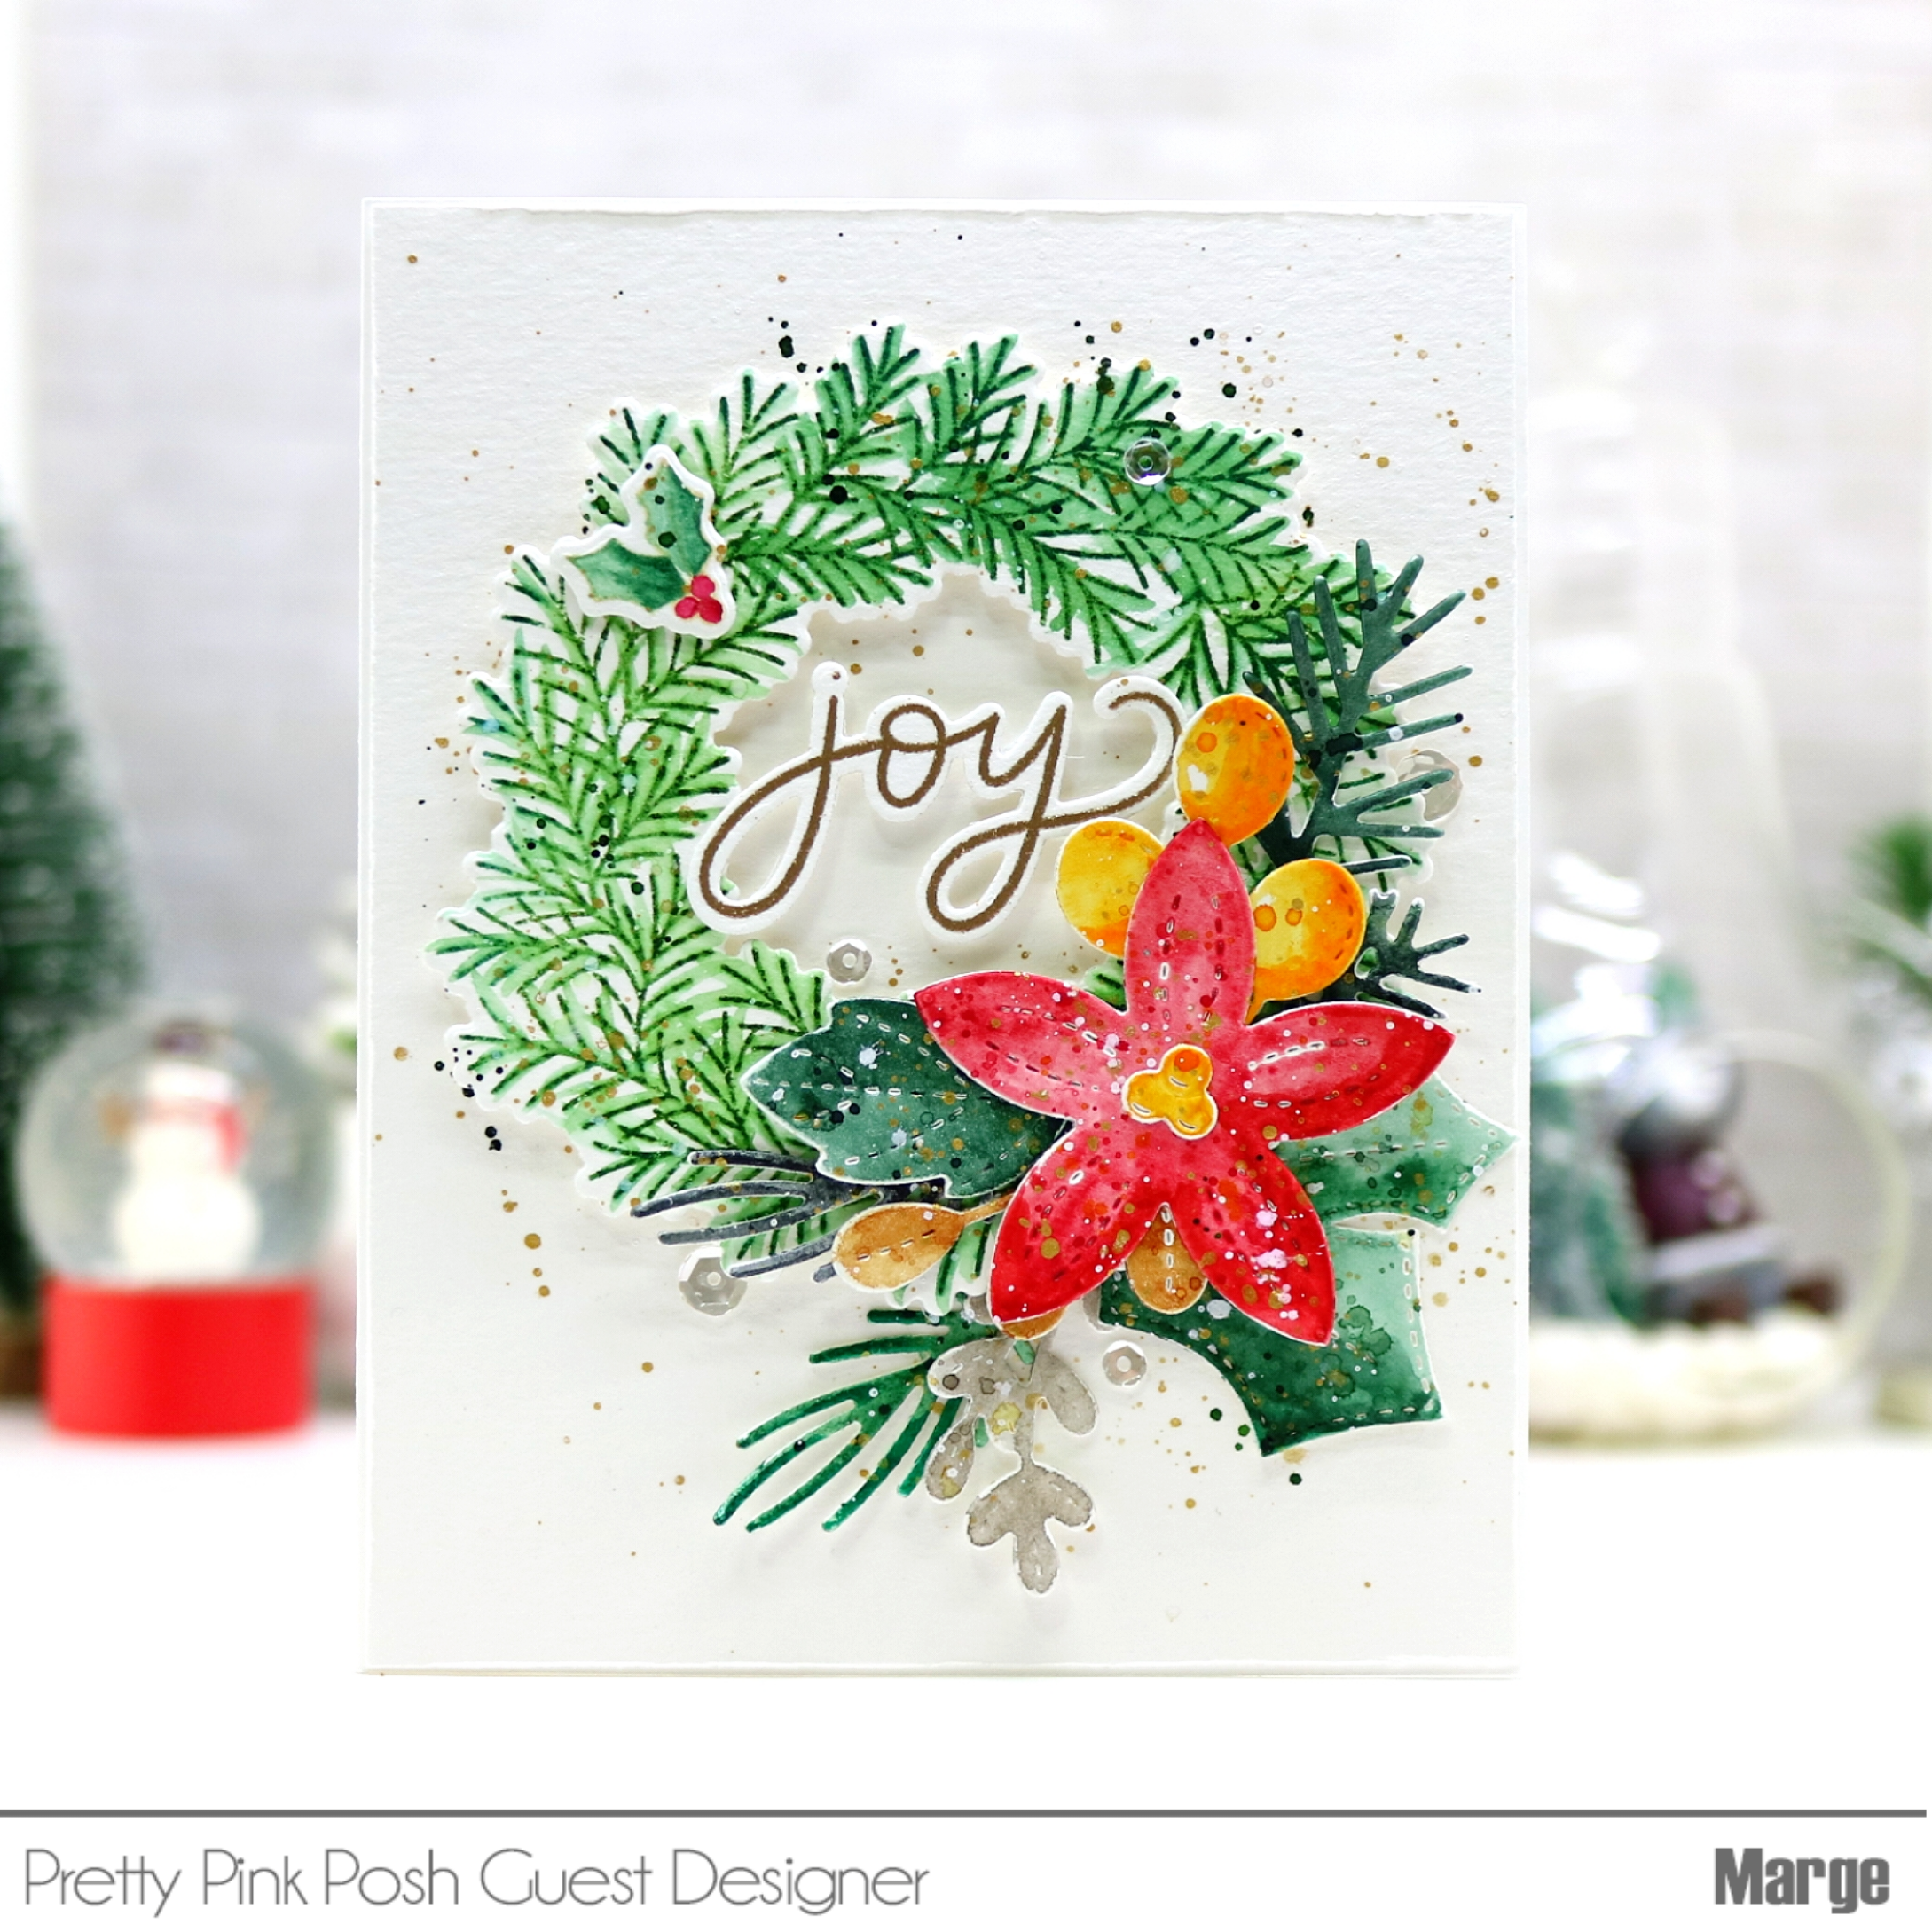
Moving on to my second card shown below, I took the similar design idea except that I added
Winter Foliage diecuts to the pine wreath.
These days I've been enjoying watercoloring of diecuts and this was no exception. I used Mijello Mission Gold Watercolor paints to color the diecuts.
To add winter vibes, I splattered with white ink ( I used a white gouache) onto the images this time. I added a few
Sparkling Clear Sequins for embellishment.
The third card is quite simple! I didn't diecut the wreath but I just added a cute ribbon to the flat colored panel . I die cut
Christmas Greetings Script out of white and gold glitter cardstock and glued only the "Christmas" piece on the center of the wreath.
All the edges were distressed with a Timholtz Distressor, and then I added red and white baker's twine . I adhered some
Clear Drops and finished it off.
Lastly, the fourth card was made very easy and simple ! I heat-embossed all the images in gold and cut them out with coordinatng dies. No coloring!
I die cut
Merry & Bright Script out of white and gold cardstock paper and adhered "merry" on the center. For a clean look, I didn't add any embellishtment.
By using deep colored card stock like navy, red, or plum etc you can get festive vibes like this. I bet this will be very easy, fun, and fast way for mass production of holiday cards :) You can try various combination of any colored cardstocks and pearl embossing powders you would like to use and I can't wait to see what you'll make !
That's it for me today. Thank you so much for stopping by. I hope you've enjoyed my cards. Now, your next stop to move on is
Carly Minner where I believe you can get such fun and creative ideas from her.
Enjoy!
Blog Hop List
Pretty Pink Posh blog