Friday, November 11, 2022

Spellbinders Floral Reflection Collection Cards

 Hi, friends!

It's the new release day of Spellbinders Floral Reflection Collection and I'm so happy to share with you several cards for them. It was my first time trying glimmer hot foil system, which was very interesting. I'll share the brief making process with supplies below, hoping that you'll enjoyr them. 


Card 1. 


Backdrop panel : Dry emboss plum cardstock with Tile Reflection 3D embossing folder.

Base layer : Cut vellum paper with Essential Floral Reflection Etched Dies and then dry emboss it with Tile Reflection 3D embossing folder.

Middle layer : Hot foil piece made with Glimmer Essential Solid Floral Reflection Glimmer Hot foil plate and dies and Hot Foil Roll Matte Gold

Top layer : Hot foil piece made with Glimmer Essential Solid Floral Reflection Glimmer Hot foil plate and add another layer of hot foil using Glimmering Just For You Glimmer Hot Foil Plate with Hot Foil Roll Pink. Cut it with a coordinaging die. 


Card 2 & 3


Prepare A2 cardbase, hot foil it with Glimmer Essential Solid Floral Reflection Glimmer Hot foil plate & Hot Foil Roll Matte Gold. Add another layer of hot foil using Glimmering Just For You Glimmer Hot Foil Plate with Hot Foil Roll Blush


Card 4 & 5


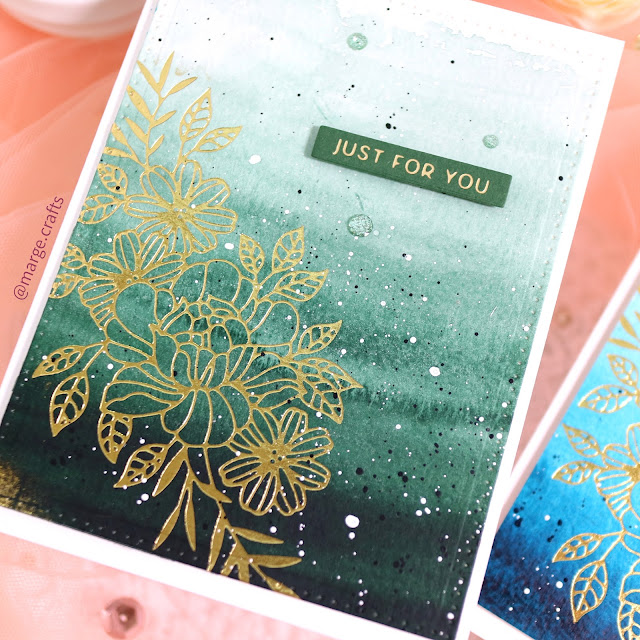
Make watercolor panels using Mijello Mission Gold watercolor paints, let them dry. Hot foil the panels with Glimmering Just For You Glimmer Hot Foil Plate and Hot Foil Roll Gold


Trim over-foiled area out then I mounted the panel onto white cardbase. 
Add splatters of whithe and darker inks over the panel. Adhere sentiment and embellish the card with drops. 


Card 6. 


Hot foil Glimmering Just For You Glimmer Hot Foil Plate on a piece of watercolor paper, then color in the images using watercolor paints. 


The last three cards (Card 7 ~9) were made with layers of Tile Reflection 3D embossing folderEssential Floral Reflection Etched Dies and  Sealed Wildflower Etched Dies on the top. 

Card 7


Card 8


Card 9


That's it for me today. Thank you for stopping by! 

MARGE


Saturday, November 5, 2022

Waffle Flower November Release Blog Hop

 Hello, there!

Welcome to the Waffle Flower November Release Blog Hop!


I’m happy to be hopping with the folks from Waffle Flower to show you all the fun new stuff awaiting you on the Waffle Flower website! Be sure to check out each stop in today’s blog hop for fun, inspiration, and chances to win some of these new release goodies! 


Giveaways:

For today’s hop, Waffle Flower is giving away $25 gift certificate to THREE lucky winners. You can leave a comment on this blog and along the hop by 11:59pm EST on Thursday November 10th, 2022 for your chances to win. Winners will be chosen at random from the comments left on any of the posts in this blog hop and will be announced on the Waffle Flower Blog on 11/11/2022.

Specials:

From now till November 8th, 2022, all orders placed at waffleflower.com will receive a mysterious gift (No code required!).

For those of you who are new to Waffle Flower, they have a Last Chance section on their website that lists many goodies for 25% off until they are gone! This would be a great place to start your collection! And don’t forget to check out their monthly Flash Sales!


I'm going to share with you seven cards for the new release, today.  

My first two cards are featuring Outlined Hearts Die .


First, I die cut it out of watercolor paper, and I colored the Outlined Hearts diecuts using Mijello Mission Gold watercolor set. I die cut the hearts outlines three times and glued them layer by layer to add some dimension. 


I trimmed another watercolor panel into 4.25"x5.5" for a backdrop, and I lightly colored the center using DS and let it dry. All the edges were distressed using a paper distresser. 


Next, I glued the hearts outline on the panel and inlayed watercolored hearts. In order to give some interesting look, I added lots of splatters of darker paint, white gouache and metallic gold ink. 


A sentiment from Oversized Heart Stamp Set were heat embossed in gold on a vellum strip and I glued both sides of the strip onto the back of the panel. 


Moving on to the second card, I prepared a red backdrop panel by diecutting dark red cardstock with Fancy Frames Die, then I created negative cut window of Outlined Hearts Die on the center. I adhered the panel onto gray colored striped pattern paper, then I in layed white diecut of Outlined Hearts Die, which I glued three to four layers for dimensional look. 


I then adhered various colors of clear jewels into each heart well so that it looked like a shaker. But it's not a shaker ! Once again, I mounted sentiment block from Oversized Heart Stamp Set on top, and adhered the card front onto the same colored cardbase. 


For embellishment, I adhered a couple of white heart clay confettis, which added lovelier look to the card.


The next two cards mainly feature the Quilted Hearts Texture Die

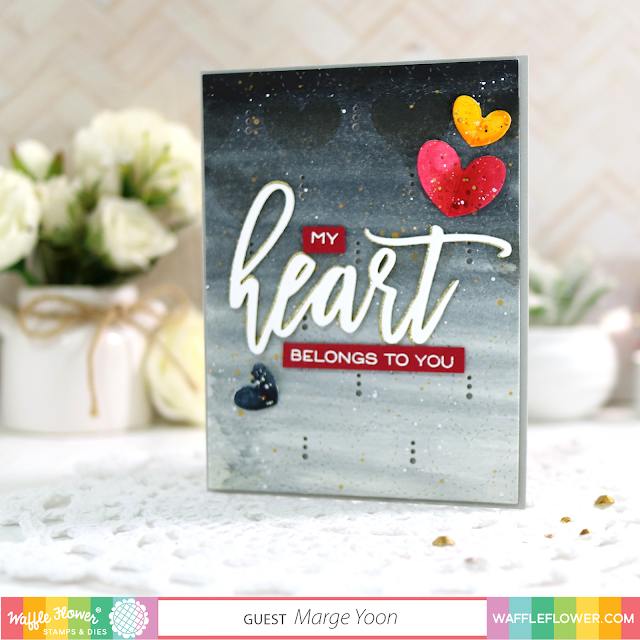
For this card, I started with making gradient black and grey panel using watercoloring. I let the panel dry and then ran it through a cutting maching with Quilted Hearts Texture Die. I added darker shades to the heart by applying Black Soot DO ink through Quilted Hearts Coloring Stencil on top of the panel. I splattered with white gouache and metallic gold inks over the panel. 


Next, I adhered sentiments that were made using Oversized Heart Combo. For more embellishment, I watercolored hearts from Outlined Hearts  diecut pieces in red, yellow, and indigo, then I adhered them around the sentiment.  


I foam mounted my panel onto gray cardstock and finished off the card. 


For the second card, I decided to go with an infinity shaker. I made similar watercolor panel with Quilted Hearts Texture Die, then I heat embossed all the four edges in gold using versamark ink and gold embossing powder. 


I used OHP film to make infinity shaker pouch. It is thinner than the usual acetate sheets, so I can easily make score lines and fold it. I put lots of  sequins, confettis, and hearts clay confettis into the pouch, and sealed the shaker off. 


After I glued Oversized Heart Word Die cut which was colored with pink dye ink, I adhered the shaker onto a card base made with plum cardstock. 


Now, here're the last three cards which showcase the Quilted Hearts Coloring Stencil

For the first card, I cut a piece of Bristol paper with Quilted Hearts Texture Die, then I ink blended it lightly with DO Tattered Rose and Dried Marigold. I then placed Quilted Hearts Coloring Stencil - that matches with Quilted Hearts Texture Die - onto the panel, and applied various colors of dye inks through the stencil. 


For the larger hearts, I gave gradient colors from violet, pink to orange and for the smaller hearts, I colored in with puprple, navy, light blue and teal inks. You can use any colors of inks you have in your stash. 
 
I added splatters of inks, white gouache and gold metallic inks all over the panel, then I addhered sentiments from Oversized Heart Combo


Next is a duo of same design with different color palettes. 


I made colored panels with Quilted Hearts Texture Die and Quilted Hearts Coloring Stencil using various dye inks. To make front panels, I die cut ivory cardstock Nesting Portrait Arches Die and lightly colored them using a blending brush. 


I then foam mounted the front window panel onto my hearts backdrop. Before adhering them together, I made a vellum strip on which sentiments were heat embossed and glued it on the back of fron panel. The card base was made with eggplant cardstock. 


FYI, dye ink colors I used for the first card are Blush, Rouge, Coral Berry, Crimson, Velvet, Nimbus, Lagoon, Teal Cave, Galactic Stream from altenew. 


For the second card, I used Sicilian Amber, Yellow Ochre, Pumpkin Pie, Amethyst, Grape Agate, Plum, Andromeda, Firebrick, Orange Cream, Rouge, Coral Berry, and Crimson. 


That's it for me today. Thank you for reading this post.
 Next on the hop is Channin Pelletier
Be sure to visit other blogs given in the blog hop list below ! Enjoy! 

     - Blog Hop Full List - 


It's Grab Bag Time!


Grab Bags for up to 75% savings! *
Only Available from November 15th to November 30th each year.
Gift it to a friend or surprise yourself with some wonderful goodies! **

Choose from 3 types of bags:
Combos (stamps with matching dies)
Dies (stand-alone dies and nesting dies)
Stamps (stamps only)
You can purchase all types but each type is limited to 1 per customer. ***

* All grab bag sales are final, we cannot accept any returns or exchanges.
** If you have purchased a grab bag or last chance items from us before, or participated in our past sales, there might be overlaps.
*** No overlap among different types of bags.




Friday, November 4, 2022

SSS Cozy Hugs Inspiration Cards


Hi, friends!

Recently I had had some break time from crafting for about three weeks and I got back to my desk a couple of days ago. I had fun with the new Cozy Hugs Release products from Simon Says Stamp and I made four cards to share with you. 


Card 1. Snowy Acorn House Card 


When I first saw this Acorn House Die, I came up with an image of cozy & warm cabin in the snowy winter scene. So I decided to make a winter cabin using the acorn.

2. Ink blend the diecuts using a blending brush and distress inks Ground Espresso and Tea Dye
3. Cut A2 size of Bristol paper, color the sky using distress inks Salvaged patina and Evergreen Bough , color the bottom using Snowfall and Banks stencil and various warm colors : Tattered Rose, Dried Marigold, Carved Pumpkin, and Picked Raspberry


4. Apply white aqoua molding paste over the background panel and Acorn House Diecuts through Snowfall and Banks stencil to make a snowy scene. 
5. Die cut Christmas Foliage out of white cardstock and colored the diecuts using the same distress inks.
6. Add splatters of white gouache and metallic gold ink all over the panel and diecuts. 
7. Apply some glue like Distress Collage Medium on the foliage diecuts and partial area of Acorn House , then coat them with Rock Candy Crystal Clear Glitter


8. Die cut Snowy Greetings out of white glitter cardstock and vellum paper. 
9. Now it's assembly time! Use glue and foam adhesives to compose all the pieces together. 
10. Embellish the card with 3mm clear sparkling sequins and finish it off. 


Card 2. Merry Words Card


I made a similar background using the Snowfall and Banks stencil and the same Distress inks. For a color variation, I used ivory cardstock instead of white paper, so the background color looks like mint or soft bluegreen and I love how the colors turned out. Because of the soft pastel colors of background, I wanted to create some fairy tale like mood. 


I die cut mini trees from Tim Holtz Mini Christmas Things Die set out of Fog cardstock and slightly added colors using Altenew Dye inks (Plum, Rubellite, Yellow Ochre, Lagoon)  and blending brushes. 


I die cut Merry Words Die out of white card stock and vellum paper and for the word 'merry' , I cut three layers and glued them for diemnsion. The sentiment is from Tiny Words Christmas stamp set. For embellishment, I used new glitter drops Leaf, which I adore so much these days. 


Card 3 & 4 : Merry Ornament Cards 

My last two cards feature Merry Ornament Dies from the Cozy Hugs Release


1. Apply distress inks Barn Door and Fired Brick to Canson Bristol paper, then used the same inks to stamp Tim Holtz Perfect Plaids
2. Trim the panel into 3.75 x 5 inch 
3. Distress all the edges using a distressing tool, add darker ink like Ground Espresso around the corners and edges. 


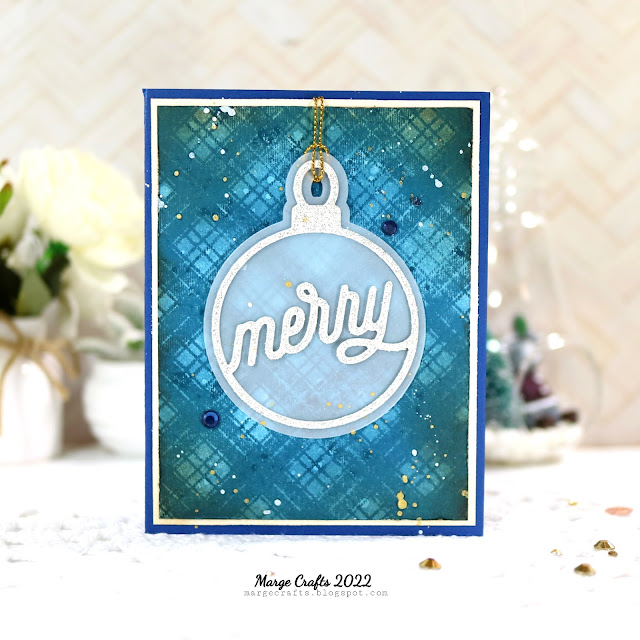
4.  Die cut Merry Ornament out of gold glitter and vellum paper. For dimensional look, cut two ~ three more pieces of merry frame out of white cardstock and glue them under the gold glitter diecuts. 
5. Adhere the ornament to the background and splatter with white and gold metallic inks all over the panel.


6. Mat the front with a little larger white cardstock which was also distressed on the edges and inkblended with Tea Dye. 
7. Adhere the front onto red card base. 
8. For embellishment, adhere some Ruby Glitter Drops around the ornament. 


And for my last card, I used distress ink Uncharted Mariner as the main color and Ground espresso and Tea Dye for more shades. 


For Merry Ornament, I used Diamond Glitter paper from the Stamp Market. 


The dark navy jewels are from Auto Vintage adhesive gems set by Scrapberrys. 


When I make vintage style cards - well I'm not good at those - , I enjoy to use combination of dark blues and brown, which gives some masculine and nautical mood. 


Well, I took lots of photos with various settings for my cards and it was so difficult what to choose! So I'm sharing two more photos here. 


Thank you for reading today's post! 
Have a great day :) 

MARGE