Showing posts with label Spellbinders. Show all posts

Friday, November 11, 2022

Spellbinders Floral Reflection Collection Cards

 Hi, friends!

It's the new release day of Spellbinders Floral Reflection Collection and I'm so happy to share with you several cards for them. It was my first time trying glimmer hot foil system, which was very interesting. I'll share the brief making process with supplies below, hoping that you'll enjoyr them. 


Card 1. 


Backdrop panel : Dry emboss plum cardstock with Tile Reflection 3D embossing folder.

Base layer : Cut vellum paper with Essential Floral Reflection Etched Dies and then dry emboss it with Tile Reflection 3D embossing folder.

Middle layer : Hot foil piece made with Glimmer Essential Solid Floral Reflection Glimmer Hot foil plate and dies and Hot Foil Roll Matte Gold. 

Top layer : Hot foil piece made with Glimmer Essential Solid Floral Reflection Glimmer Hot foil plate and add another layer of hot foil using Glimmering Just For You Glimmer Hot Foil Plate with Hot Foil Roll Pink. Cut it with a coordinaging die. 


Card 2 & 3


Prepare A2 cardbase, hot foil it with Glimmer Essential Solid Floral Reflection Glimmer Hot foil plate & Hot Foil Roll Matte Gold. Add another layer of hot foil using Glimmering Just For You Glimmer Hot Foil Plate with Hot Foil Roll Blush. 


Card 4 & 5


Make watercolor panels using Mijello Mission Gold watercolor paints, let them dry. Hot foil the panels with Glimmering Just For You Glimmer Hot Foil Plate and Hot Foil Roll Gold. 


Trim over-foiled area out then I mounted the panel onto white cardbase. 
Add splatters of whithe and darker inks over the panel. Adhere sentiment and embellish the card with drops. 


Card 6. 


Hot foil Glimmering Just For You Glimmer Hot Foil Plate on a piece of watercolor paper, then color in the images using watercolor paints. 


The last three cards (Card 7 ~9) were made with layers of Tile Reflection 3D embossing folder, Essential Floral Reflection Etched Dies and  Sealed Wildflower Etched Dies on the top. 

Card 7


Card 8


Card 9


That's it for me today. Thank you for stopping by! 

MARGE


Friday, March 23, 2018

[Spellbinders] New Classics March Collection - Part III - More Simple Card Ideas


Hello, there! 
It’s Marge here with you today again.
 Have you enjoyed previous posts for Spellbinders New Classics March Collection? As the third theme for this week, I'm going to share how to use diecut layering to create dimensions on your card. Here are the examples that I made geographic blossoms using various nested circle-shaped dies. By doing this, you can also build up your favorite color palette on the card.


To begin the first card, I made various sizes of diecuts out of several colors of papers using  Fancy Scallop Edge Circles Etched Dies. I gave them color gradation from yellow to orange and brown by selecting different colors of cardstocks. The smallest brown colored circle in the center was cut using the smallest die from Fancy Edged Circles Etched Dies set. Then I layered the cuts one by one using thin (1 mm thick) double sided foam adhesives to build up a blossom. I also made two- tone leaves using Textured Flowers Etched Dies Timeless Heart Collection by Marisa Job set. Sentiment was heat embossed on dark brown cardstock with white embossing powder and was cut using the coordinating die from Sentiments 1 Stamp & Die Set by Tammy Tutterow set.


I put the blossom, leaves, and sentiment on a white rectangle panel which was cut using Scored and Pierced Rectangles Etched Dies, then I adhered it on an A2 sized top folded light yellow cardstock. To maintain clean geometric look, I finished it off with minimal embellishment by adding some enamel dots.
I love the how the frame patterns change alternatively at a closer look. It is so fun and delightful to look at.

       
 For my second card, I made the same blossom with different color palette using Fancy Scallop Edge Circles Etched Dies, Fancy Edged Circles Etched Dies and, Textured Flowers Etched Dies  by Marisa Job set. Background scalloped panel was made from Fancy Edged Rectangles Etched Dies
I chose a sentiment from Encouraging Greetings Stamp set by Pretty Pink Posh, then stamped it on the white panel using Versafine Ink Onyx Black. 


For my third card, I used Open Scallop Edge Circles Etched Dies to build up a blossom. Other process was similar with previous card. The smallest pierced blue circle in the center was made from Scored and Pierced Circles Etched Dies.


Before closing up, I’m showing you other examples for diecut layering. In the fourth card, I used   Scored and Pierced Circles Etched Dies and Sentiments 1 by Tammy Tutterow set.


In the fifth card, I stamped Thinking of You by Tammy Tutterow Stamps on a copic friendly white cardstock, colored the images using copic markers, and then cut the panel in scalloped oval shape using Fancy Edged Ovals Etched Dies. I then foam mounted the oval on a pierced rectangle panel made from Scored and Pierced Rectangles Etched Dies with twines and enamel dots as embellishment.


In the last card, I die cut different pattern papers to give visual interest on the diecut layers, then I layered them one by one using thin double sided foam adhesives or double sided tapes. Fancy Edged Rectangles Etched Dies were used for this. I added a blue ribbon, gemstone and jewels as embellishment. 


Pretty Pink Posh Encouraging GreetingsStamp Set, Pretty Pink Posh Jewels Bundle, Color Enamel Dots from various companies, ScrapBerry’s French Journey 6x6 Paper pad, American Crafts 12x12 Cardstock Pastel, American Crafts 12x12 Cardstock Earth Tone, May Arts Ribbon


Thank you for your visiting here and reading all the posts for New Classics March Collection this week. I hope you have enjoyed the journey with me. Thank you all the readers and Spellbinders. It was my great honor to be with you at Spellbinders Blog. Hope you are having a wonderful day and I hope to see you again in the future. Blessings!
Marge

Wednesday, March 21, 2018

[Spellbinders] New Classics March Collection - Part II - Dry embossed cards


Hello, there!

 It’s Marge here again with gorgeous New Classics March Collection. Today I’m going to share how to make patterned backgrounds using dry embossing technique. Since all the dies in Classics March Collection are nested dies, with different patterns on frames one by one in a set, they are just perfect for making interesting patterns all together. So here are my cards for today.


To begin, I cut a white card stock using the largest frame die in the Fancy Edged Rectangles Dies set, then I placed all other smaller dies on it one by one, put a piece of masking tape on them to keep them from moving on the paper.


I then ran through it on a cutting machine for dry embossing using an embossing pad and plate. You may dry emboss first and then die cut the outline, but when you do this, the embossed pattern may be flattened while you run it through the cutting machine again. So I die cut the outline first, and then went on dry embossing. Here you can see how the embossed pattern came out.


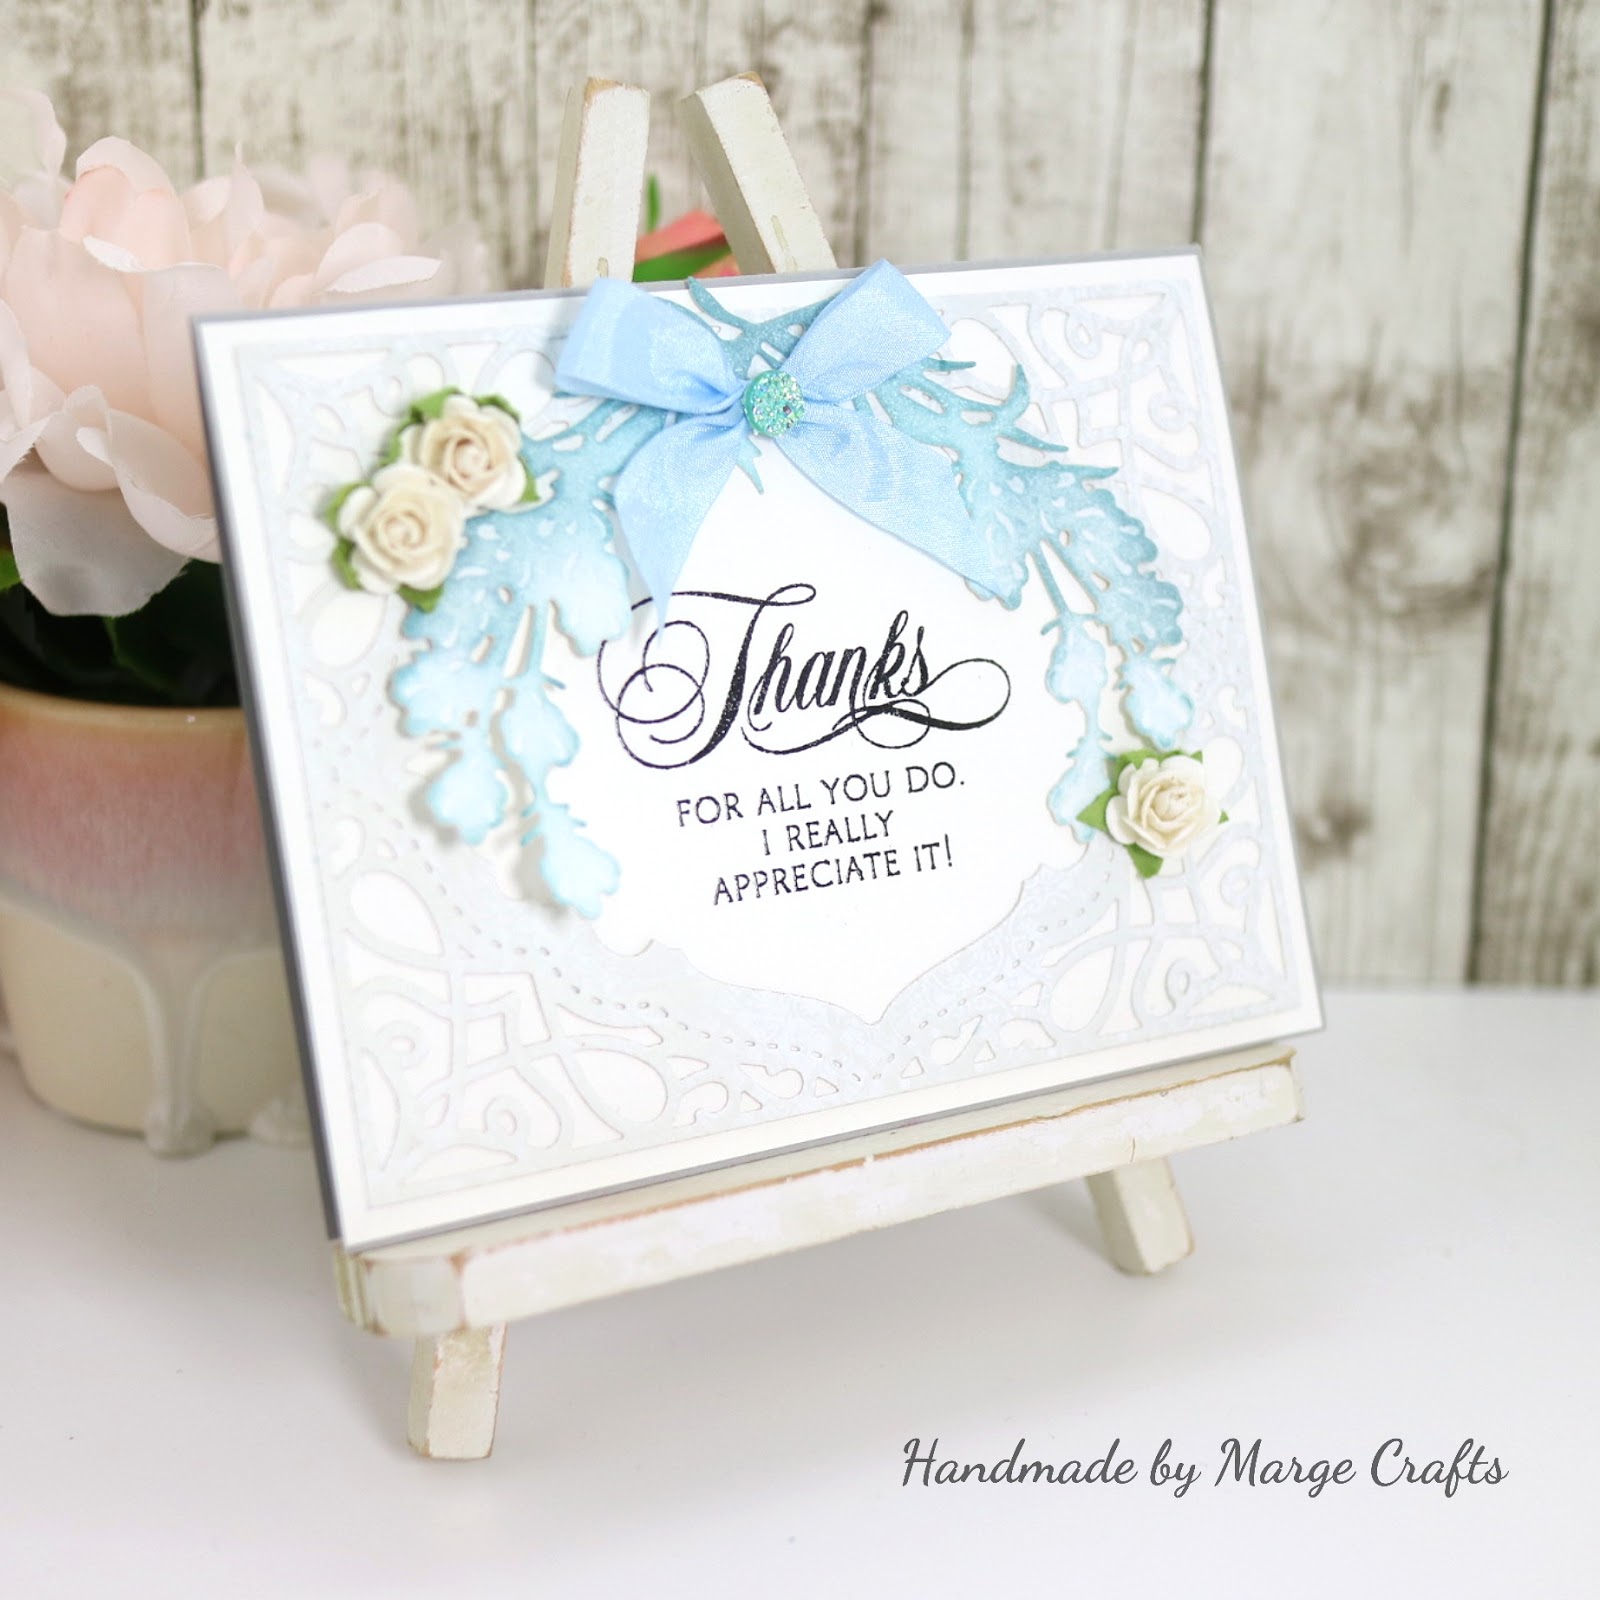
To show off the clean white background pattern, I made the whole design clean and simple with giving it some focal points. I used Sentiments 2 Stamp & Die Set By Tammy Tutterow for sentiment, which was heat embossed on a dark cardstock with white embossing powder. Little branches and leaves were cut from a white cardstock using Wreath Elements Dies by Lene Lok then colored with distress inks. For more embellishment, I added pre-made mini flowers and Pretty Pink Posh Jewels.


Basically, creative process for the second card was very similar to the first one.


I made the same dry-embossed panel, foam mounted a piece of script die cut made with Sentiments 1 Stamp & Die Set by Tammy Tutterow, then I added a blossom made with Textured Flowers Dies by Marisa Job, mini leaves I made for the first card, and finally Pretty Pink Posh Jewels.


For my third card, I made stripes and dots patterned dry-embossed panel using Scored and Pierced Rectangles Dies set. To give it some interesting look, I inked the panel using distress oxide inks and blending tools, then splattered gold pearl ink over it.


I loved how ink blending showed off the embossed patterns. Then, I added butterfly die cuts which were blended with distress inks, script die cuts, lace strip, ribbon, and jewels in a similar way with the previous cards.


Spellbinders Supplies:

OTHER SUPPLIES:

Kaisercraft Paper Blooms Mini Flowers, Pretty Pink Posh Jewels Bundle, May Arts White Silk Ribbon, May Arts Natural Twine String Burlap
Thank you for reading this post. Have you enjoyed it? Hope you will visit again in my next post. 
Have a wonderful day!
Marge


Monday, March 19, 2018

[Spellbinders] New Classics March Collection- Part I- Making shaker cards with basic frame dies


Hello, everyone ! 
Hope you are having a good day. Did you see the gorgeous new release at Spellbinders?
I'm so thrilled to let you know that I was invited to Spellbinders as a guest designer for Spellbinders Classics March Collection  last week.  I shared a total of three posts featuring the Classics March Collection on the Spellbinders Blog and I'm going to replay them again here on my blog during this week. Hope you will enjoy them :) 


As you all have seen, the Spellbinders Classics March Collection is full of basic frame dies with various striped, dotted or scalloped borders, which would be perfect background frames for your projects. But that’s not all they do. From now on, I’ll be sharing how to use creatively the classical frames throughout 3 days of posts here on Spellbinder’s blog.
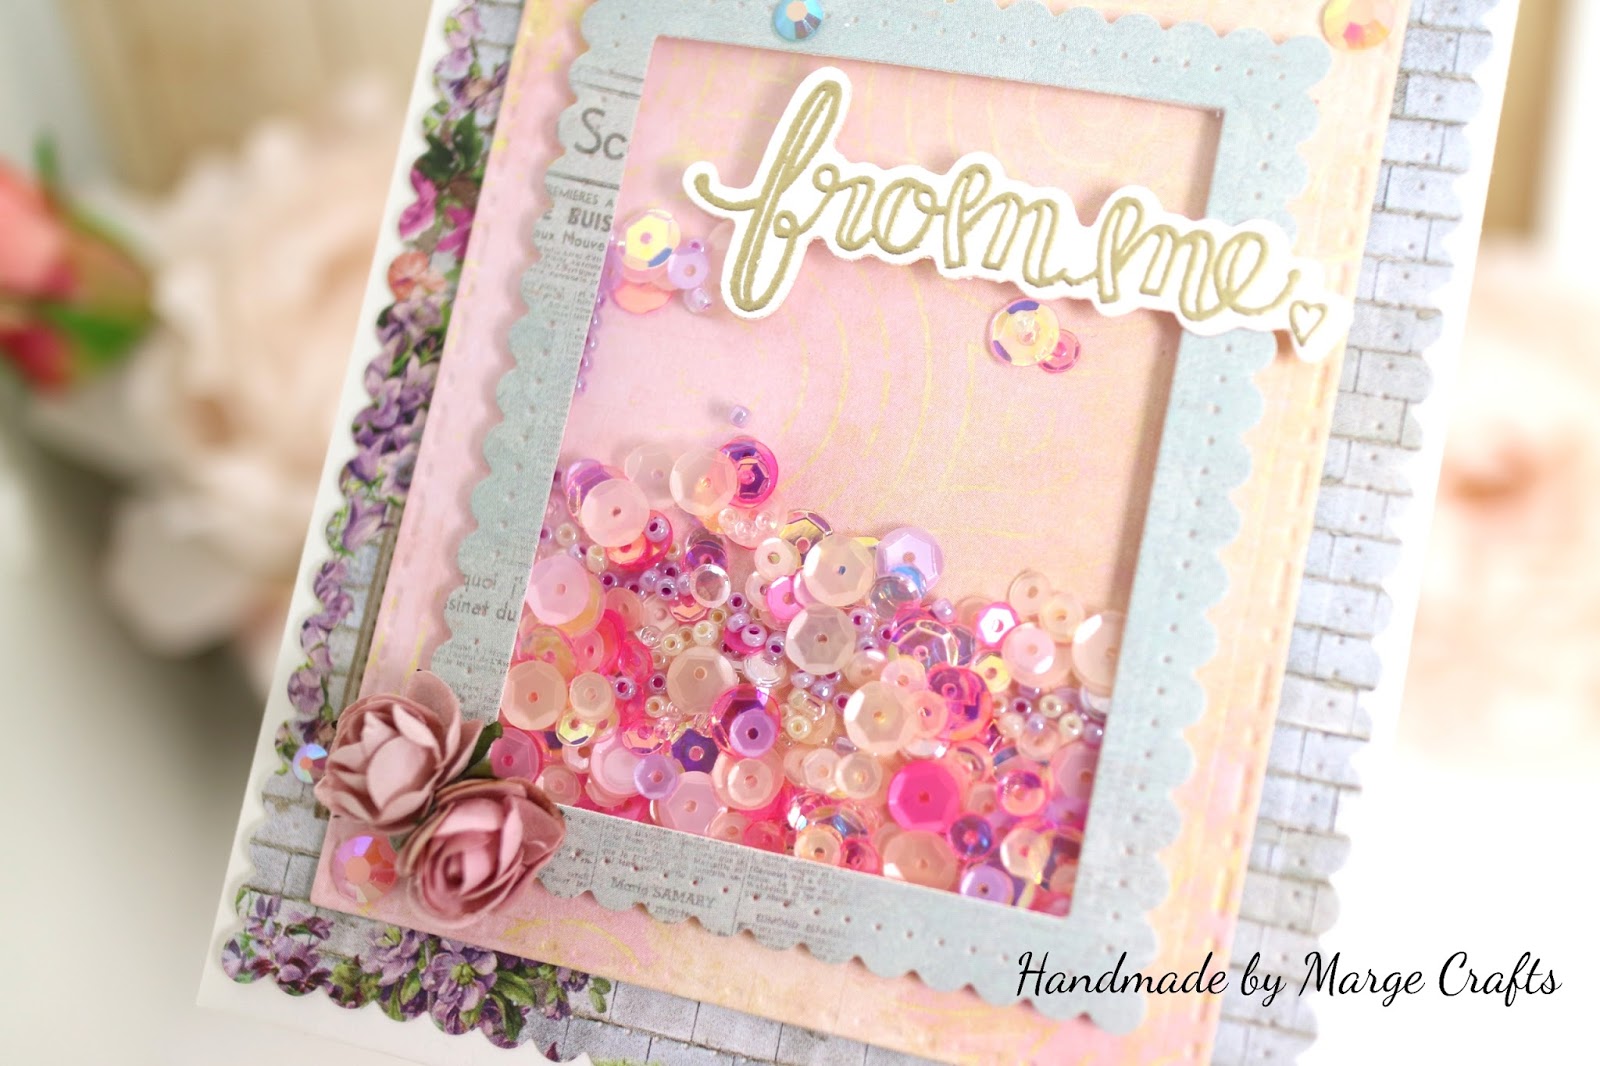
Today’s topic is making beautiful shaker cards with the nested frame dies. Basically, I used first (the largest) and second die cuts as background layer, then I cut the two consecutive smaller dies at the same time to make a frame for shaker window. Here is the first card with oval framed shaker made using the Fancy Edged Ovals Dies.

For the bottom rectangle panel, I also used a largest frame die from Scored and Pierced Rectangles Dies. Sentiment ‘for you’ is from the Sentiment 2 Set from Tammy Tutterow, and was heat-embossed with gold embossing powder. As a final embellishment, I adhered a white linen ribbon on the top of the oval frame, and put some Jewels on the card.

For the shaker, I chose various colors of sequins and seed beads trying to balance the whole color scheme. Look at the beautiful sequins in the elegant framed shakers. I really loved how it turned out.

For my second card, I made a square –shaped shaker using Fancy Edged Squares Dies set in a similar way I already described above. 


For my third card, I made a rectangle shaker using Fancy Edged Rectangles Dies set.

Low how the elegant frames go well with beautiful sequins and jewels.


Spellbinders Supplies:

OTHER SUPPLIES:

Pretty Pink Posh Sequins, Seed Beads, and Jewels Collection, BoBunny Country Garden 6×6 Paper pad, 13 arts Aura Rosa Collection 6×6 Paper pad, ScrapBerry’s French Journey 6×6 Paper pad, Craft&You design My Wedding 6×6 Paper pad, Whimsy Stamps Winter Wishes 6×6 Paper Pad

That’s it for today. I have shown three different shapes and color schemes for making shaker cards from classical frame dies. I hope you enjoyed it. Which one is your favorite? Thanks so much for your stop by today. Hope to see you again, soon!

Saturday, March 3, 2018

[Spellbinders] Playaing with Die D-Lites series

Hello, friends!
Hope you are having a wonderful weekend.
Today, I'm going to share two cards featuring Spellbinders Dies D-Lites.

The first card features Die D-Lites Weekend Grill Etched Dies.
To begin, I cut the Dies out of copic friendly white paper, then colored the diecuts using copic markers. 
Then I made a cute frame background panel using Card Creator Floral Panel Card Etched Dies Flower Garden die. 


I then adhered Grill die cuts using thin double sided foam adhesives. 
Sentiment was chosen from Friends Forever set by Pretty Pink Posh. 


Copic Colors I used are E29/R39/R29/R27/R14,  YR09/YR08/YR04/Y38, W8/W6/W4/W2, C7/C5/C3/C1,  E49/E47/E44, B19/B32/B04/B02/B00,  BG49/BG45/BG15/BG11.

I finished off the card by adhering Sparkling Clear Sequins Mix. 


For my second card, I first die cut Die D-Lites You've Got Game Etched Dies out of copic friendly paper, then colored the sentiment using copic markers C9/C7/C5/C3. I ink blended the monitor using distress ink Tumbled Glass, and then I cut the line and mouse out of colored cardstock. 


Background panel was ink blended with distress inks : Twisted Citron, Squeezed Lemonade, Tattered Rose, and Picked Raspberry.
Sentiment was chosen from Encouraging Greetings Stamp Set by Pretty Pink Posh, and the card was finished off by putting some Jewels.


Now the two cards are finished.
Did you enjoy my cards today? 
Thanks for reading this post and I hope you to visit again soon :)


Hugs
Marge


Spellbinders Supplies 


Sunday, February 11, 2018

[Spellbinders] Lavender cards with die cut layering


Hello, crafty friends !
These days I'm having fun playing with Spellbinders dies.
Today I have several cards to share with you featuring Shaperbilities Lavender Swag Etched Dies S4-839 .  This is a lavender shaped middle sized die, which is so versatile that you can use  it in various  ways like I show in the picture below.


To begin, I die cut it several times from white card stock , then colored them using distress inks and copic markers.


For my first card, I chose some vintage woody colored papers and cut them using Nestabilities Labels 39 Etched Dies and Nestabilities Labels 39 Decorative Elements Etched Dies to make elegant frames for the Lavender Swag.


I distressed edges of big rectangle background panel, then I ink blended all edges of diecuts using Tea Dye Distress ink. 


Then I put each cut layer by layer using tapes and foam tapes.
I also added Olive green bow beneath the frames. 


I used various kinds of gemstones from Prima Marketing to embelish the card.


Now the first card is finished.


After then, I wanted to try another color palette, so I chose to go with light blues.


The whole process was quite similar with the first one, and this is how it turned out.


For the branches of Lavenders, I used distress inks, Mermaid lagoon and Peacock Feathers.
For the yellow blossoms, I colored another piece of diecut using copic markers (Y38, Y19, Y15, BG01), cut the blossoms and put them onto the distressed branches. 


I also used Prima Marketing's gemstones and light blue ribbon from May Arts.


For the third card, I wanted to go with simple layout with clean look.
So I colored theLavender diecut using Distress inks, Weathered Wood and Tumbled Glass.


Then I made an elegant frame using the A2 Tranquil Moments Card Creator Etched Dies S5-216, adhered it onto a white cardbase, then put the Lavender Swag Die cut on it. 


I then put light blue ribbon, small white paper-rose blossoms, and gemstones for embellishment.


Although this card was made very simple, I loved the elegant clean look so much.


For my fouth card, I decided to make a lavender bouquet with the die cuts. So I colored three sets of Lavender Swag diecuts using distress inks and copic markers (RV69, V09, V17, V15, R39, RV29, RV25, BV09...). I then cut in half of all the Lavender diecuts, then made a bouquet.


For a background to put the bouquet on, I chose an elegant frame die from
Nestabilities Radiant Rectangles Etched Dies. 


I heat embossed the sentiment on a dark brown card stock using white embossing powder, then cut out it using the coordinating die, then foam mounted it onto the lavender bouquet.


Lastly, I have two more cards to share!
These are clean and simple cards that can be made very quickly.


I colored the diecuts , then adhered them onto background panels, finished off by adding twines, blossoms, and sequins.


How amazing that I made a total of 6 cards featuring one die set!!


I didn't expect this at all , it just went that way while I was cutting and coloring, which means that the Lavender Swag Etched Die is so versitile and inspiring!
You will agree with me when you face this :)


Spellbinders Supplies :

Other Supplies : 
Stamps : Penny Black Special Thoughts, Simon Says Stamp Kind Flower
May Arts Silk Ribbons
May Arts twines : natural, ivory
Pretty Pink Posh Sequins
Prima Marketing Gemstones.

Have you enjoyed my post today?Thanks for your visit and reading this.Hope you will come again later. Have a wonderful day.
Marge.