Pages

Monday, December 30, 2019

SSS Love You More Release Card - Watercoloring on Stencil

Hi, friends! Simon Says Stamp revealed fabulous Valentine-themed products called Love You More recently. I made a card to share with you today using the new release items. 


I prepared a piece of A2 sized panel from a heavy-weight cold-press watercolor paper pack, then I put Tumbling Hearts Stencil on the right side. I also masked off the left side of the panel to prevent my blending tool from crossing the stencil border and ruining the clear space.


Next, I gently blended Worn Lipstick ink over the stencil then I removed the stencil. I added watercolor shades on the stenciled hearts using Daniel Smith Perylene Scarlet and  Quinacridone Rose. After coloring was finished, I trimmed the panel using a large Stitched Rectangles Die


I stamped a lovely puppy holding a heart from Pawsome Love set on a piece of watercolor paper with Warm Glow Amalgam ink, then I did some light water-coloring on him. I cut the image free-hand and adhered it on a small vellum circular die-cut. I made a pin-point hole near the edge, put Natural Twine thread into the hole, and then I foam mounted the circle on the left top portion of the panel to make it look like a small tag. 


For the sentiment, I chose some lovely messages from Valentines Word Mix 2 set and stamped with Versafine Onyx Black ink. I mounted the panel on a Neenah Desert Storm card base, and finally, I adhered some sequins.


There's Love You More Gallery on the SSS blog, where you can see lots of beautiful cards inspired by the Love You More Release and you can also share your creations with it by linking up your posts/photos. 


Thank you and have a great day!

Marge

Monday, December 23, 2019

PPP Warm Winter Greetings Card


Hi, everyone! 
As it gets cold and cold, I would like to share a warm winter greetings card with you, today. 


I started by coloring cute images from Holiday Signs and Joy using my copic markers and I cut them with coordinating dies. 


For the background, I ink blended an A2-sized panel using regular distress ink Spiced Marmalade, Wild Honey, Fossilized Amber and Squeezed Lemonade. Then, I splattered with some Metallic Accents and white gouache. 


I glued a piece white Winter Frame on the colored panel and I adhered my colored images. As a final touch, I added yellow sequins. 


The penguin is so adorable that I enjoyed coloring him. I hope you will have a merry winter, but I can't wait for spring ;) 


Marge

Saturday, December 21, 2019

Last minute Christmas Cards

Hi, friends! I hope you're having a joyful weekend now. I spent my Saturday making some more Christmas cards for my friends and teachers as I hadn't enough time to create cards for them due to my neck issues. 


All of my cards today were made based on very simple design concepts including diecutting and ink-blending.  These would work for those who don't know much about Stamp Art.

< Card 1 >


I diecut Lipstick Red Cardstock with Holiday Knit Background Die and I foam mounted the panel onto a card base. Then I foam mounted Star NOEL and a holly leaf. All borders were distressed with dark inks. I embellished the card using some PPP Jewels. 


< Card 2 >


I took the same design concept but different colors. I gave gradation to NOEL diecuts and holly leaves by inkblending the edges. The holly leaves were from Cottage Cuts released in 2016, so I'm not sure that they are still available. 


< Card 3 >


I was so inspired by Karin's card that I bout this Shimmer Snowflake Die from SSS DieCember Release. You can see her original card HERE.


I ink blended the snowflake with blue dye inks and adhered another layer on the back for dimensional look. A sentiment from Clean Line Christmas set was heat embossed in white and was cut using coordinating dies set. 

< Card 4 >


This card is very similar with the previous one, where I used a little bit different colors. I used Deep Blue Sea and Sea Shore mini ink sets, and Black Soot


< Card 6 > 


For my last card, I applied the same colors on the background.  The snowflake die was colored in brown instead. I diecut Merry Dies from Crimson Glitter Cardstock and foam mouted it on the snowflake. As a final touch, I added some blue and red jewels. 


Thank you for reading this post. I hope you enjoyed my cards today and got some design ideas from them. 

May you and your family have wonderful holidays. 

Blessings.

Marge

Wednesday, December 18, 2019

Two Christmas Cards with SSS and PPP


Hi, friends!
Today, I'm sharing two simple Christmas cards I had made a while ago.


 The main elements for today's cards including stenciled panel, die cuts, tags are all scraps left behind my previous cardmaking. Because I didn't want to disregard them, I tried to create cards with them, and apparently, I succeeded, lols. 

Here are the lists of products I used. I hope you enjoyed my cards today.

Hugs.

Marge


Monday, December 16, 2019

Pretty Pink Posh Cute Christmas Card


Hi, friends! I hope you are having a great day. 
Today, I'm going to share a Christmas card featuring some stamps, dies, and a stencil from Pretty Pink Posh


To begin with, I trimmed a piece of bristol paper into a little smaller than A2 size, then I ink-blended it using Cracked Pistachio and Start Light inks
I placed Snowflakes Stencil onto the panel, and then I sponged light blue ink through the stencil. Because the background was already dark, the snowflakes had to be opaque to be seen. To do this, I coated my blending tool with a little bit of white opaque dye ink first, then I added light blue colored Sea Breeze, and sponged it, which created what I intended perfectly. 


I diecut Layered Tree from green card stock, ink blended the edges using Emerald ink, then I glued them to assemble a tree.  I adhered the Christmas tree onto the previous stencil background, and I splattered with white opaque ink and gold metallic inks
While I was waiting for the splatters to dry, I stamped Holiday Signs onto 80lb Neenah White paper and I colored the images using my Copic Markers. Color numbers will be shared at the end of this post. I cut them all using Holiday Signs Coordinating Dies.


I foam mounted the Santa and Penguin around the tree using Square Foam Adhesives, embellished my card with Sparkling Clear Snowflakes and 3mm Sparkling Clear Sequins
FYI, here're copic markers lists I used. 
Penguin: B39-B37-BG09-BG07-BG05-BG02, Y38-Y17-Y13, C10-C07-C05-C03, W2-W0-W00, R20-R30, BG000-BG0000
Santa: R39-R29-R27-R22, W3-W1-W0-W00, E13-E11-Y00-Y000, W10-W8-W6,  R000-R0000


I hope you enjoyed today's card. 
Thank you! 

Marge

Saturday, December 14, 2019

Pretty Pink Posh Christmas Cards


Hi, friends! 
Today, I'm going to share a set of Christmas cards made with Pretty Pink Posh products. I mainly used stand-alone dies along with stencils since we don't have enough time to stamp, color, and diecutting images. Using dies alone is a fast way to produce a bunch of cards at this time of year :) So, I wanted to give you some ideas on how to make holiday cards using the various old and new PPP dies. 


< Card 1 >

This is definitely my favorite among today's cards. I cut a piece of Lipstick Red Cardstock into A2 size, which was inked with darker red dye inks along the edges. I then put Snowflake Stencil onto it and applied dark brown inks along the borders. I kept the central part free of any inks or patterns, so it made some glowing effect on the tree. 


Layered Tree Dies were cut from Ivory cardstock, and I inked their edges using a regular Tea Dye Ink. I embellished my card with Gold Metallic Jewels and small sentiments from Caroling Critters Stamp, and Metal Bookplates from Kaisercrafts. I love some antique mood from the deep red color palette and bookplates. 


< Card 2 >

I diecut JOY from Ivory Cardstock and inked all the edges with regular Tea Dye Ink.


Then, I combined Stitched Poinsettia Dies, Pine Sprigs, and Festive Holly Dies to build up a poinsettia bouquet, and all the elements were foam mounted on a piece of textured Gray Cardstock


< Card 3 >

Do you know how to create stenciled patterns of which color is lighter than the background without using heat embossing or something else? Here's how I create it! I ink-blended the background in blue first, then I mixed blue and white pigment inks on my blending tool, and then I sponged it through the Snowflake Stencil. The white pigment ink lets the blue be lighter and opaque because of its opaque nature.


I used Ornament Shaker Die and Winter Days Confetti Mix to make a shaker card and embellished my card with the same poinsettia bouquet as of Card 2. 


< Card 4>

I made a Leaves and Berries Stencil background with tone-on-tone technique using  Green Cardstock and dark green inks, then I made it into a shaker card with Tree Shaker Die.


PPP had released beautiful vintage Christmas sequins in 6mm and 4mm size, which I put into my shaker to produce some vintage mood on my card. I added some Merry Confetti Mix into the shaker as well. Finally, I glued two layers of Happy Holidays Diecuts and adhered them onto the shaker window. 


That's it for today. I wonder which one caught your eyes. Maybe none?!
Some of you might have known from my IG feed that I've been suffering from cervical spine problems aka disc herniation. I have neck pain which radiates to my shoulder and back, so it's really hard to keep working on desk for hours. Actually, it took several days for me to finish these 4 cards, I did very small progress every day like stenciling one day and diecutting the other day..., but my neck pain aggravated after all. I'm not sure how I will manage to keep a balance between my health and cardmaking, but I'll try!!
 I'm receiving physical therapy with concurrent lifestyle corrections, and muscle strengthening exercises as well. Hope you my friends will take care of yourselves. 

Hugs

Marge


Thursday, December 5, 2019

SSS DieCember-The Best is Yet to Come

Hi, friends!
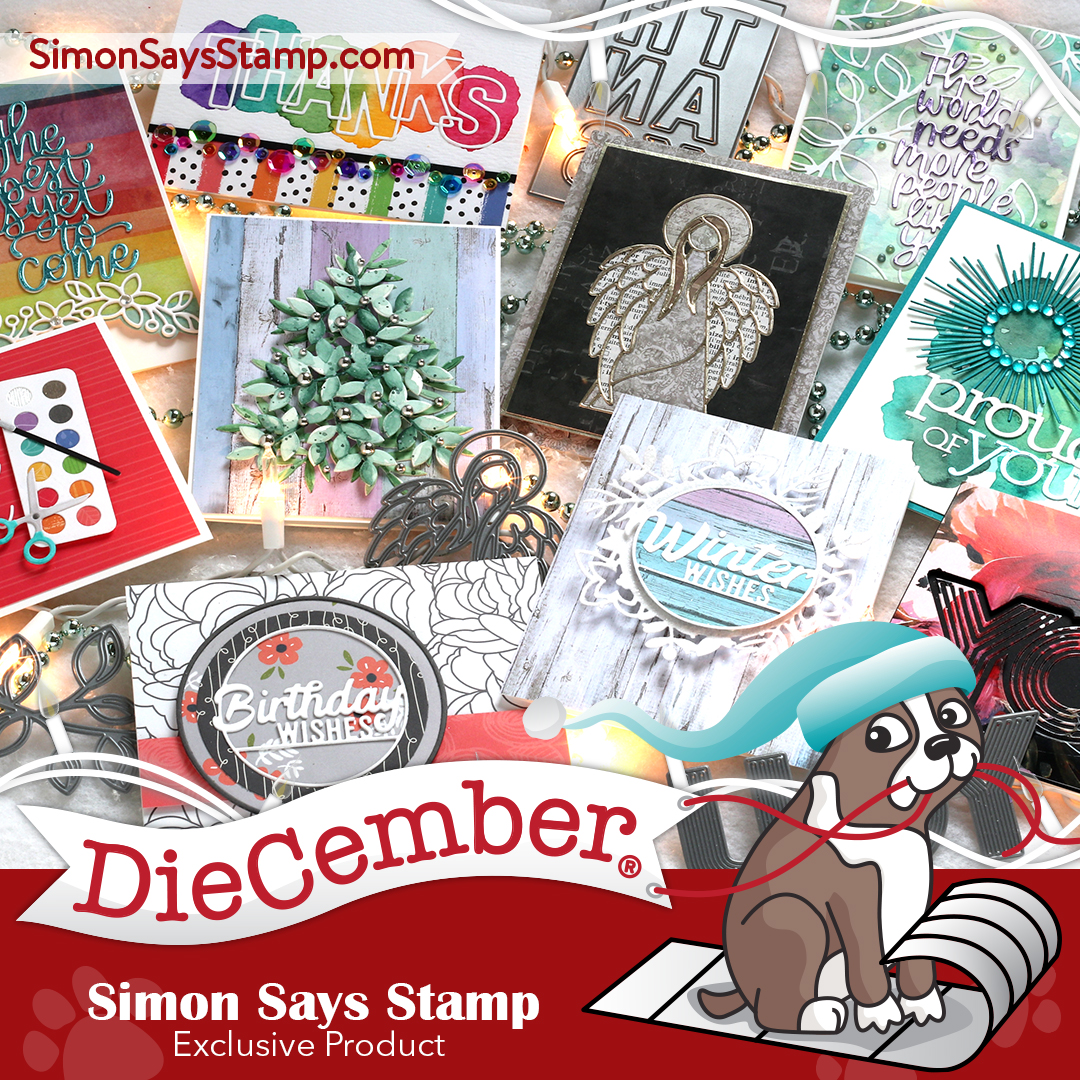
I hope you are enjoying the new Simon Says Stamp DieCember Release and the Blog Hop which is going through the whole week. 

Today, I'm going to share another card featuring The Best is Yet to Come Dies from the DieCember Collection. Since I wanted to create festive moods on my card, I used gold as the main color. 


I started by die-cutting it out of white card stock and Harvest Gold Mirror cardstock and set them aside.


Next, I prepared a piece of Bristol paper, and then I ink blended it using some Distress Inks : Festive Berries, Seedless Preserves, Wild Honey, and Carved Pumpkins. I then die-cut the panel again using Stitched Whirls Die to give a unique texture to it.


I splattered with White Gouache all over the panel, let them dry, then I trimmed the panel into 3.75x 5 inches. In turn, I applied embossing ink on the four edges and heat embossed them with Gold embossing powder


To finish my card, I foam mounted the panel onto a white card base made with 110LB Neenah White, then foam mounted The Best is Yet to Come die-cuts, and added some sequins. 


That's it for today. Thank you for reading today's post. I hope you enjoyed it!
You don't want to miss the Simon Says Stamp DieCember Gallery for a lot of new design inspirations. Also, please visit the SSS Blog on Friday morning to look around the Day2 Blog Hop for DieCember Release.

Monday, December 2, 2019

Simon Says Stamp DieCember Release Blog Hop Day-1


Hi, everyone!
Welcome to my blog and I'm so honored to join the Day 1 of Simon Says Stamp DieCember 2019 Blog Hop. Before we start, here's the list of promotion codes for you in the graphic below to celebrate the new DieCember Blog Hop.


All my cards for today are focused on using various old and new dies from Simon Says Stamp, which I hope you'll enjoy. I'll give you short information on the main techniques and major supplies I used with clickable links in the text for each card. 

< Card 1>

My first card features Blessings Wafer Die from the new release. I simply put the sign on the Christmas wreath.


Supplies: Wreath Tag Dies, SSS Ivory Card Stock, SSS Midnight GreenCopper Glitter Cardstock, Neenah Desert Storm 100LB, Raspberry Jewels, My Mind's Eye Gingham Farm 6x6 paper pad, Olive Green paper, 


I love how simple it is to make a holiday card by using the beautiful dies from Simon Says Stamp, and I also love the dimension that the wreath and sign created with the aid of foam adhesives. 


< Card 2, 3 > 

These two cards feature both the Shimmer Oval Wafer Die and Blessings Wafer Die from the new release.


 For the left one, I used in-laid die-cut technique and for the right one, I made a shaker card using the Shimmer Oval frame.


< Card 4 >

The fourth card features The World Needs Die from the DieCember Release.
I die-cut it from brown cardstock which is part of the Neenah Texture paper set, and then I added more shades using Copic Marker E44 & E43.


I made this card from an imagination that an old and wise Gnome is whispering this magic words to all of you :) 


< Card 5, Card 6 >

My last two cards feature the bran new frame dies set, which is A7 Thin Frames, as well as Proud of You and The World Needs Die. The A7 Thin Frames set consists of 9 nesting frame dies and the largest one is 5x7 inch. But then, I picked the 3rd largest frame for my cards because it matched well with a 4x6 inch size card base, which you can create easily by trisecting 12x12 paper. 


For Card 5, I cut Fog Gray Cardstock with the 3rd largest frame die first, then I dry embossed it by running 6 smaller frames together on the paper through the machine. 
I foam mounted SSS Big Picture Book Fox and the Proud of You was cut from blue paper and was inked with blue dye inks. 


I really loved the unique shape and holdable size of the new 4x6 inch card thanks to the A7 Thin Frames dies. I would strongly recommend you to try this if you wanted something new on your card design. 


Lastly, here's the simplest one that I made by combining World Needs Die and A7 Thin Frames as well. For the background, I used pattern paper and vellum paper which were cut using the A7 Thin Frames. The letters were cut from deep gray paper, and I added shades using Copic markers W10-W7-W5. 


That's it from me for today. Thank you so much for visiting here. Your next stop to hop around is my talented friend Gayatri's Blog! Here's the full list of the blog hop, in case you've missed. 

<HOP ORDER>
Marge Yoon ( You are here)


Please, leave a comment below for a chance to receive a $25 coupon. Winners will be chosen and posted on Simon Says Stamp Blog on Wednesday, the 11th of December.

Please visit the DieCember Gallery where you can add your own projects featuring the new DieCember Release as well as you can get lots of new inspiration.

There's will be another fabulous DieCember Blog Hop on Friday, December 6th, so please be sure to come back to the Simon Says Stamp Blog!